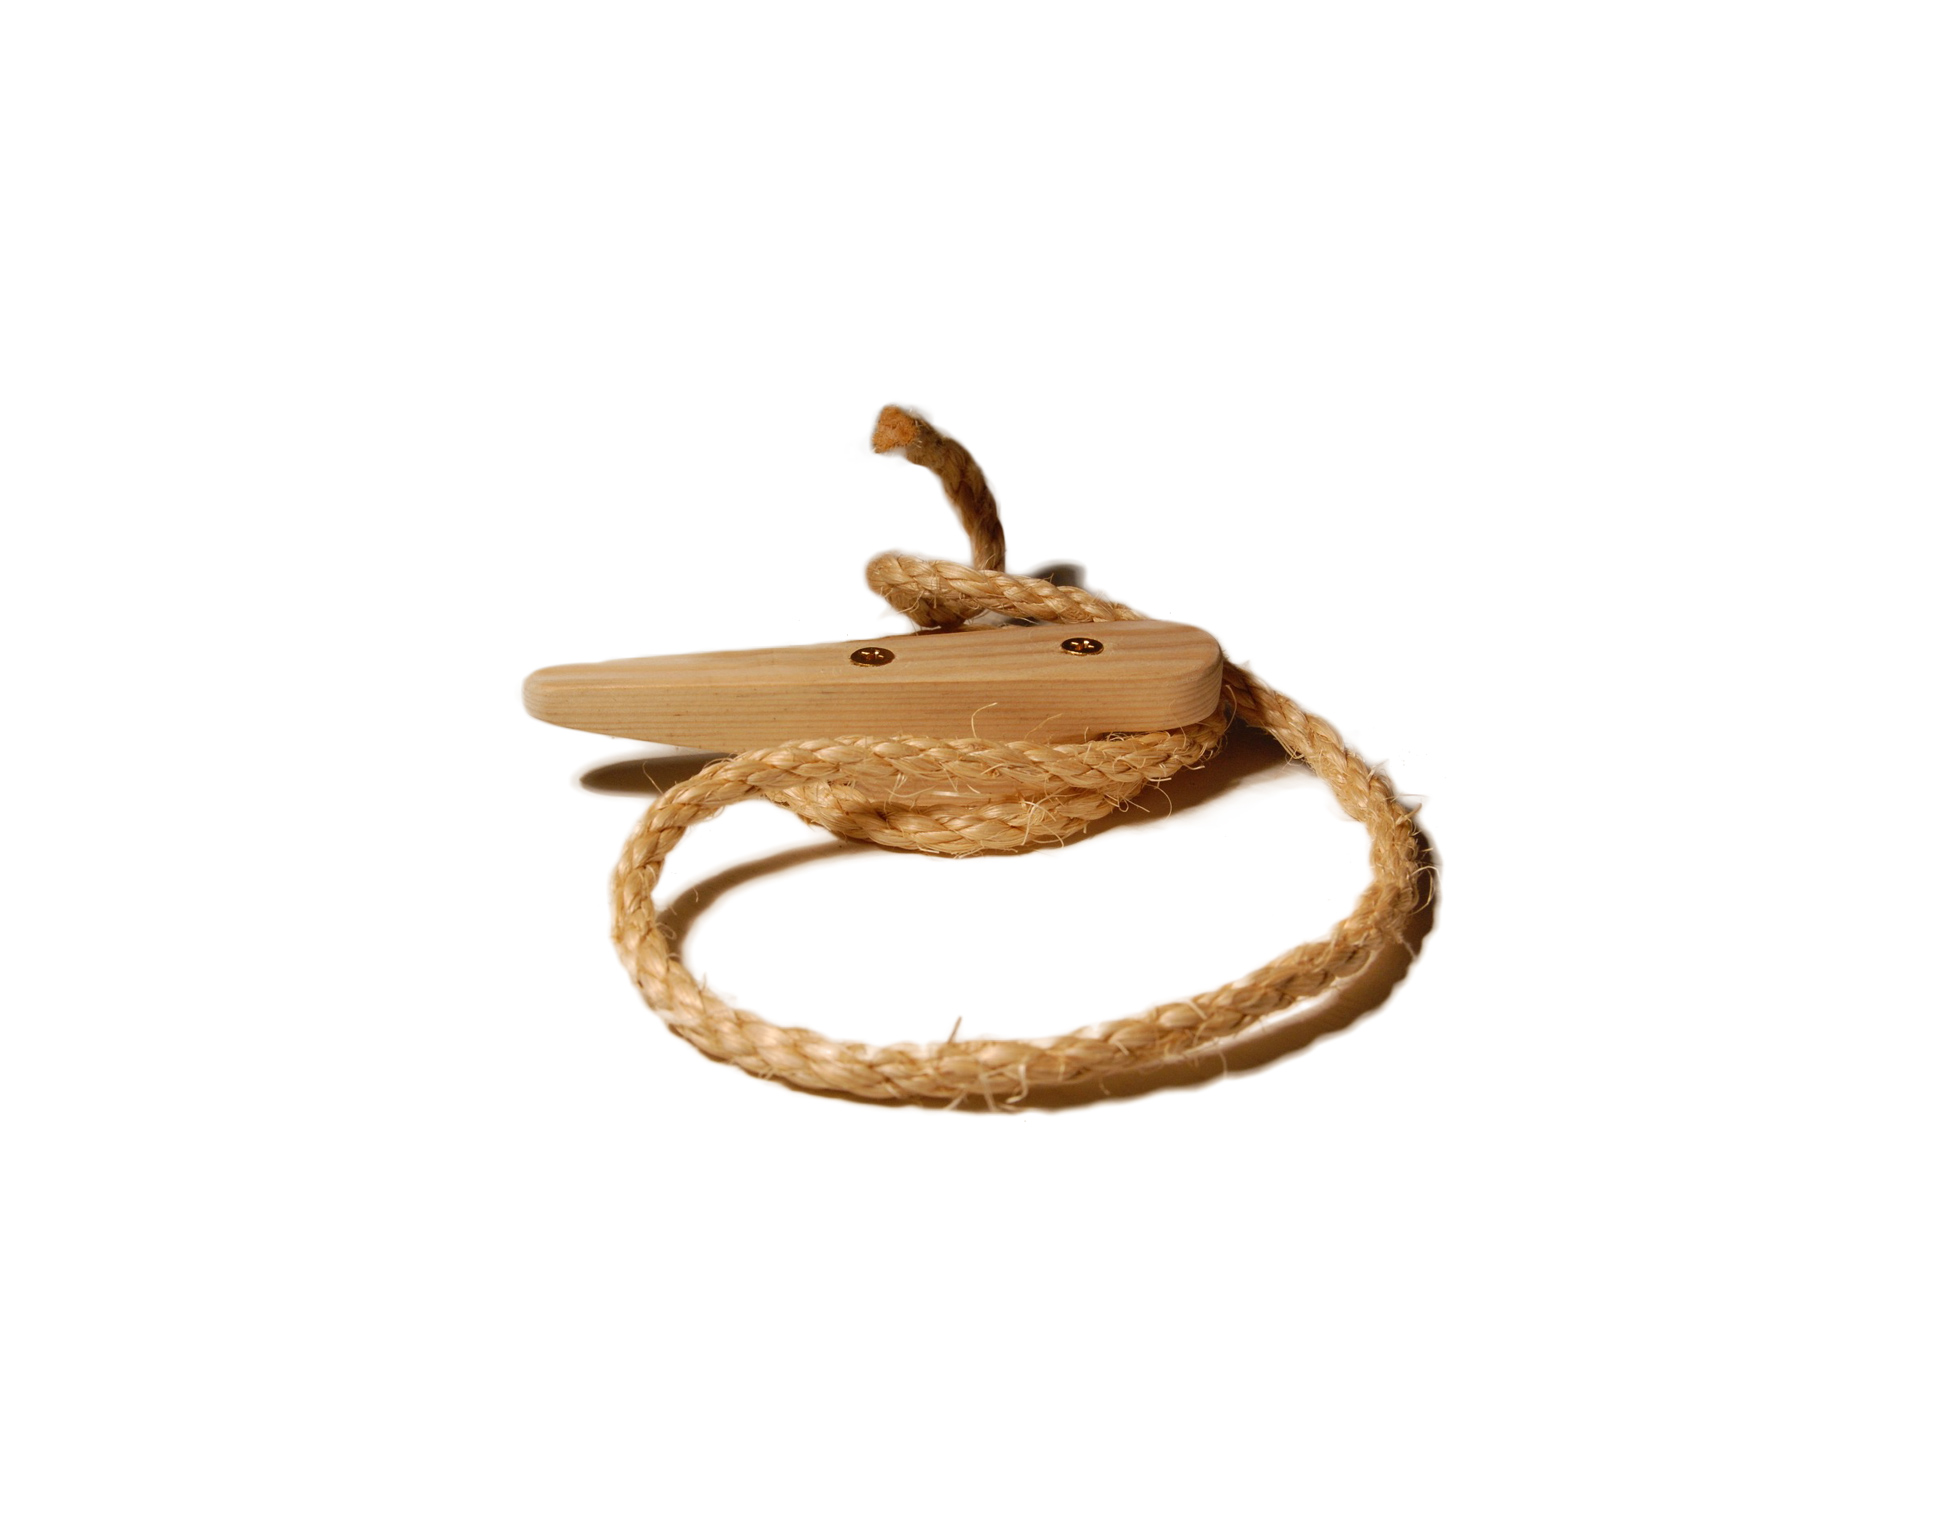
Today’s project was the re-assembly of a chair that was disassembled 3 weeks ago. The nature of chair assembly is that once you begin, you must finish all of the stick together parts in one session. The screw together parts can be done later but because of the way chairs are, they need to go together all at once. Allow adequate time. The three week lag was because I did not have a clear spot on a weekend long enough to keep it open ended.Let inertia work for you.
The first step in chair repair is get the chair completely apart. If the chair has failed catastrophically, there may be broken parts along with parts that are still quite tight together. If the chair is just wiggly and loose, many of the joints are probably ready to come apart with the appropriate amount of force. It may be difficult but you must make sure that you have all of the pieces that will or can come loose, loose.
IMPORTANT – as you remove each piece, mark it so that it can be re-assembled in the correct orientation. Make the left of the chair as you sit in it the left. Mark each piece in an inconspicuous spot with Front/Left/Top etc. so that you cannot be confused when it is time to assemble.
CAUTION – watch for modern short cuts that may render your chair difficult or impossible to repair. Staples, pins, repair plates, steel wedges are difficult to remove, damage the wood fibers and are the topic of another future blog entry.
Disassembly proceeds easily at first and then becomes more difficult as the pieces get harder to separate. For large pieces, this can mean working them apart by pulling and wiggling. I find wiggling the piece in a rotating pattern with occasional reversal of direct the most effective. Sometimes rocking side to side is best. Rarely, you may need to wedge some like a stick of wood where the scars will not show and leverage against it to get movement.
Another technique is the tap. Tapping with a rubber mallet can do the trick. Mine is white rubber and does not mark. A hammer, carpenter’s hammer or machinist’s, provide a firmer force. Protect the struck piece with a smooth piece of scrap. The sharp blow of a hard hammer may be more effective at breaking a glue joint. Let inertia work for you. Watch the rebound.
Once you have all of the big pieces apart, try and get the pegs out. Grasp the peg with a pair of slip-joint pliers. See if there is any movement at all. If there is, try to work the peg out its hole. If there is no play and tapping does not loosen it, skip it.
Inspect the pegs. Replace any that are cracked and those that have left a chunk in the hole.
Check the holes. Clean them out with a drill of the appropriate size. Remove any glue left in the hole. Modern glues may not stick to themselves or other glues. Old glue, such as hide glue needs to be renewed so get it out of there.
Clean up the ends of the rungs and the holes in the spindles and rails. Use 60 grit or 40 grit sandpaper to get the glue of and the pegs and pieces smooth. Get everything cleaned up for smooth re-assembly.
Once you have it apart, lay out the parts in the order that you are going to assemble them. Some chairs have to be assembled all 4 corners at once. Others like the one I was working on today can be assembled from front to back or back to front.
The first assembly is a dry assembly. It helps you to do the final assembly correctly and easily.
For my chair, I joined the two front legs with a rung, 4 pegs, and the front piece. Observe the surfaces and the left to right orientation. This I laid flat on the floor. I then added 2 rungs and a side piece on each side.
Separately, I assembled the back. There were 4 back slats, the back seat support, and a rung (which I could not get out). I then put the back onto the front. I noticed as I was doing this a hole that retained a piece of the peg. An I had replaced the peg with a fresh one because it was split. If I had been working with glue, I would not have had time to clean up the hole and get it together before the rest of the chair got too stiff to work with. This is why we do a dry assembly.
Work out how you will put the clamps on to pull everything up tight. You may want bar clamps ( quick-clamps work well) or a rope clamp. I used both.
Take it all apart again and lay it out neatly.
For the final assembly, I used Chair-Loc . I have used this in the past and it is good for about 7 years of daily use on these chairs. The chair I worked on today did not get completely disassembled last time I did repairs and so it has never really been tightened up in 25 years.
Repeat the assembly this time putting Chair-loc in each hole and spreading it around each peg or rung. Press everything together. Clamp it, tap it and get it real snug.
Give it a while to set up, put the seat on and screw in the screws.
The chair is now nice and tight.
