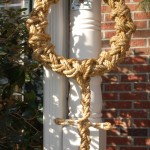
The latest knot project is a braided rope wreath. This is based on the description in Ashley #2241.
Start with about 3 meters (10 ft) of #16 galvanized wire. Halve it and clamp the sharp ends in a vise. Insert a suitable hand-hold such as a screwdriver shaft in the bight and twist the pair until it lays flat and will hold shape. Form the twisted wire into a hoop about 35 to 40 cm (14 to 16 inches) twisting the overlapped ends together. Wrap the hoop with wadded newspaper or other wrapping to make a form. I used newspaper because I intended to remove it. The split-tube pipe insulation may also work. You want a bit of thickness,say 50 cm (2 inches), some give, and a uniform donut shape.
Follow the directions in Ashley #2241 to construct the knot. Start with 30 meters (96 feet) of 1 cm (3/8 inch) rope. Cut this in half. With the first piece, do 8 wraps, 3 times around, leaving about a little over a meter hanging. Use a clue (a cord of a different material or color) to wrap 8 wraps the other way. Get the wraps as evenly spaced as you can. Now go in parallel to the clue with the second piece of rope weaving over-under. When you get back to the beginning, take the strand under where you were over before. Take this over-under pattern around 3 times. The third time through, make sure that both of the patterns are over-under in both directions. Remove the clue.
When you complete the first level of plait, before you begin doubling, correct any errors by pulling a clue through the knot chasing the line with the error into the knot until it exits. Pull the offending line out leaving the clue. Correct the error by re-weaving Ashley #127. Then follow the clue to the exit with the corrected strand.
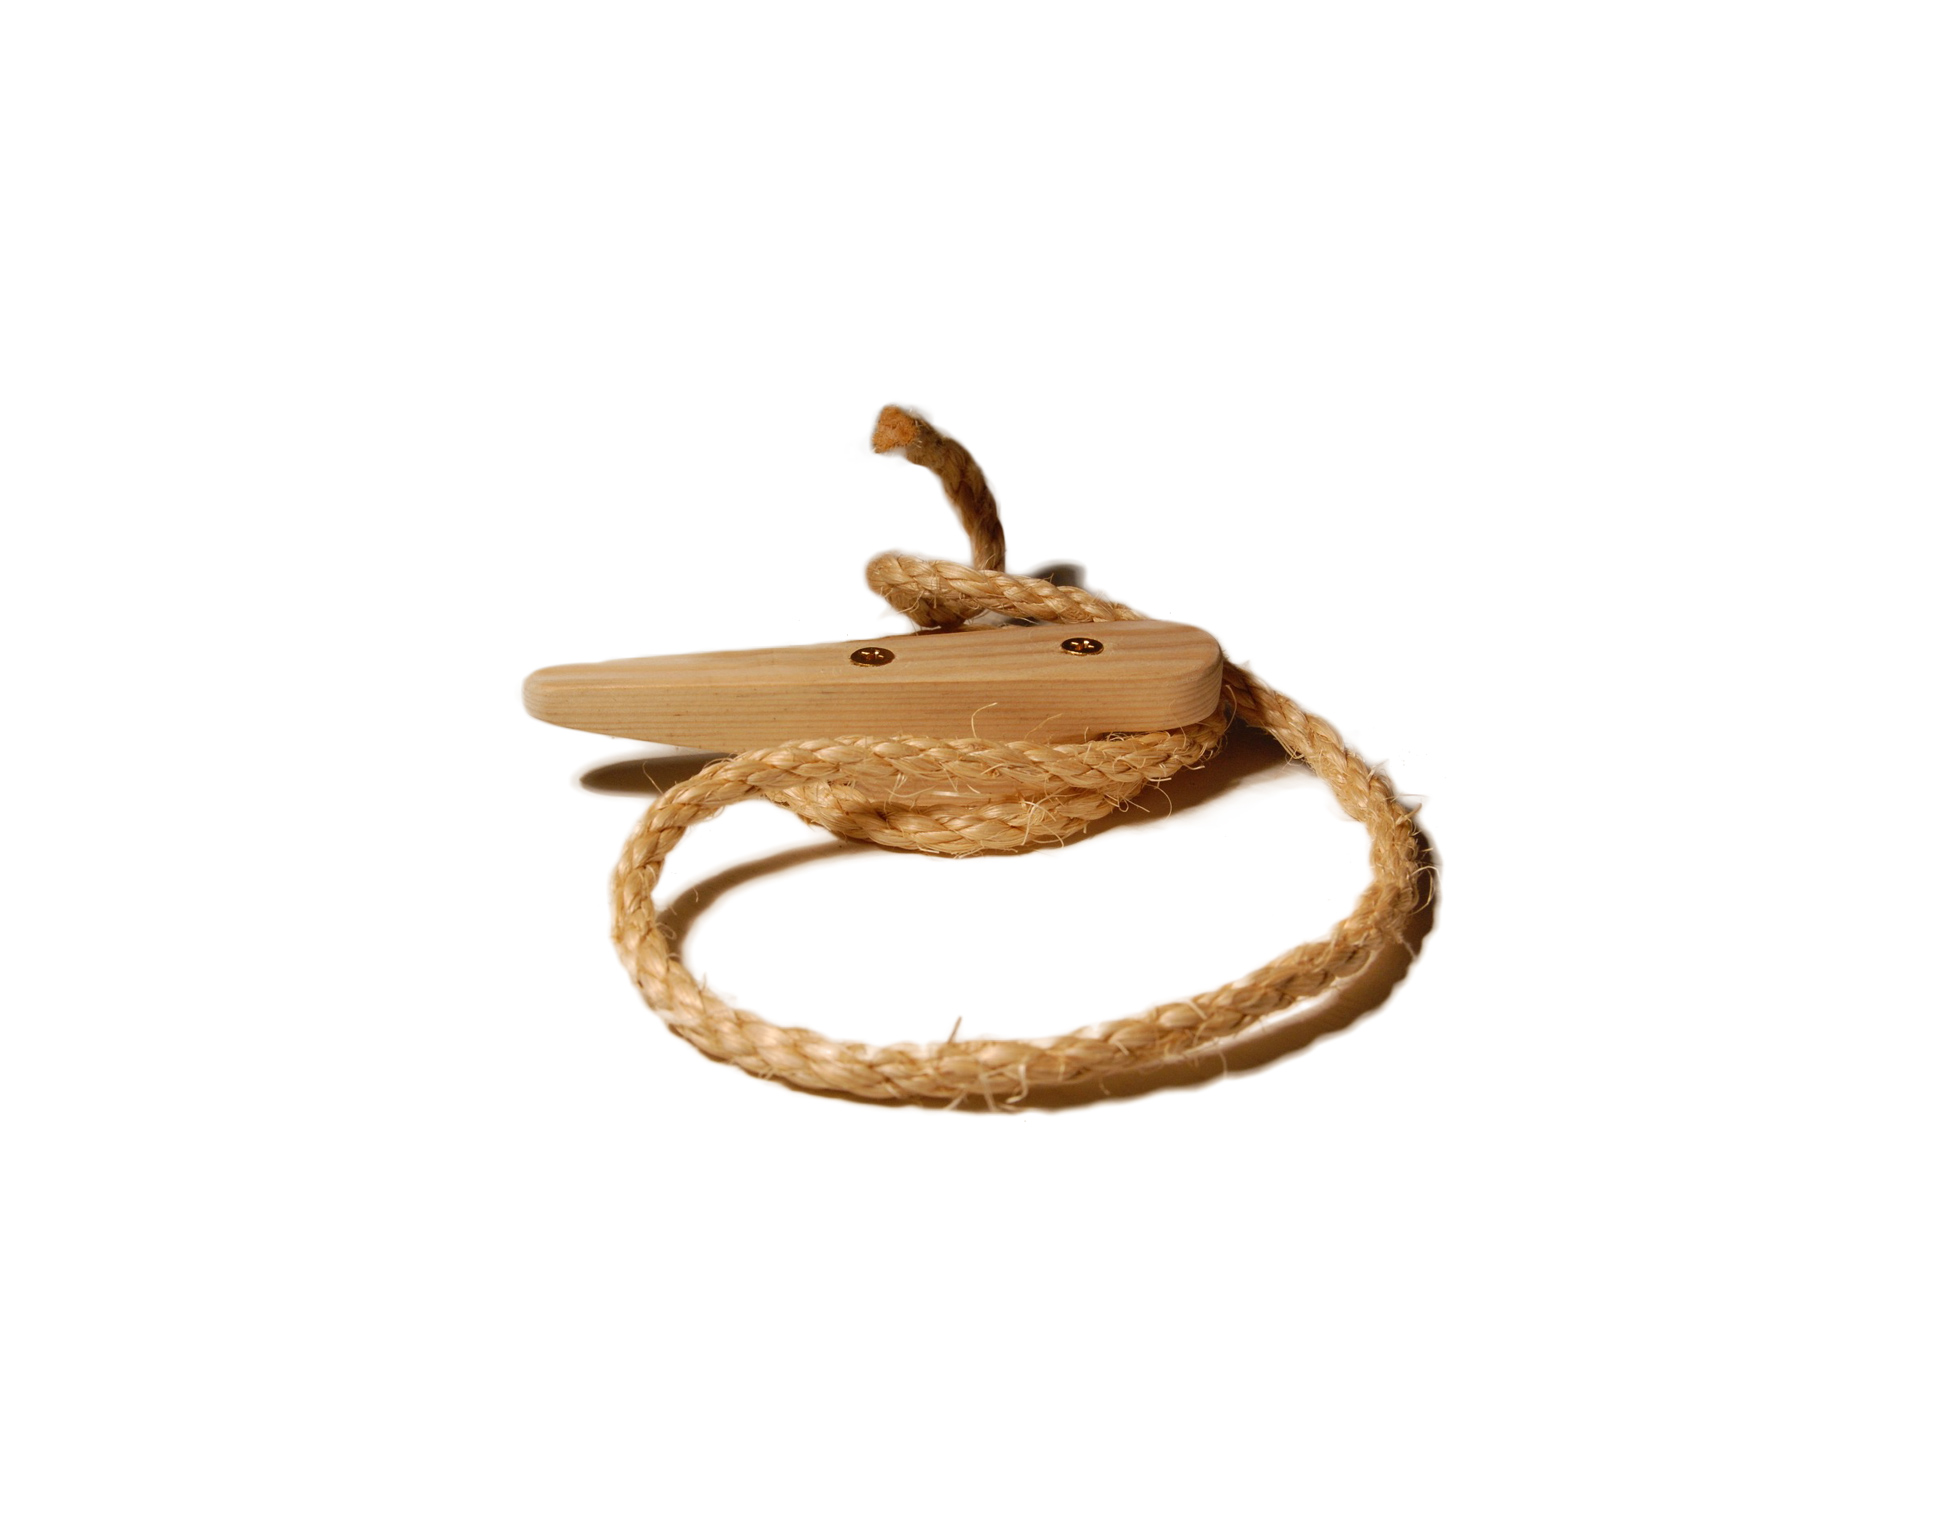
Now choose one end or the other of both pieces to pull back to about a 1 meter (3 feet) length. Make sure that these are from the left-hand and right-hand weaves and that they exit in the same direction. This will be the end that will form the final decoration. Pull the excess out through the knot, 6 times around for each strand. Once this is complete, you should find the other ends to be about 1 to 2 meters. Once the original layer is complete and correct, and adjusted, double the first layer in each direction. Then begin removing the excess from the knot making the long tails longer. Work from where the short tails are. Hold them exiting and trailing away from you. Draw up the body with all strands, drawing out slack in loops and rotating the excess toward the exit with the longer strands. Some strands need to go around several times to reach the exit. Finish by bringing all 4 tails to the same exit point (or as close as you can get). Seize the 4 together. Plait a 4 strand flat plait Ashley 2967 (XX in the text drawing below). When a suitable length is formed, form a bight on each side using the longer strands. Seize (verticle bar) near the end and near the central portion along with a splint of wood to hold the cross piece out.
XX
XX
⊂|=|XX|=|⊃
XX
XX
XX
XX
XX
——
||||
Continue plaiting beneath the crossing for a suitable distance. Whip the ends of each strand. Seize the 4 strands together close by the end seizings (horizontal dash). Cut each strand just beyond the whipping. As a variant, consider drawing the ends to the middle so that the pendant cross in in the middle.
