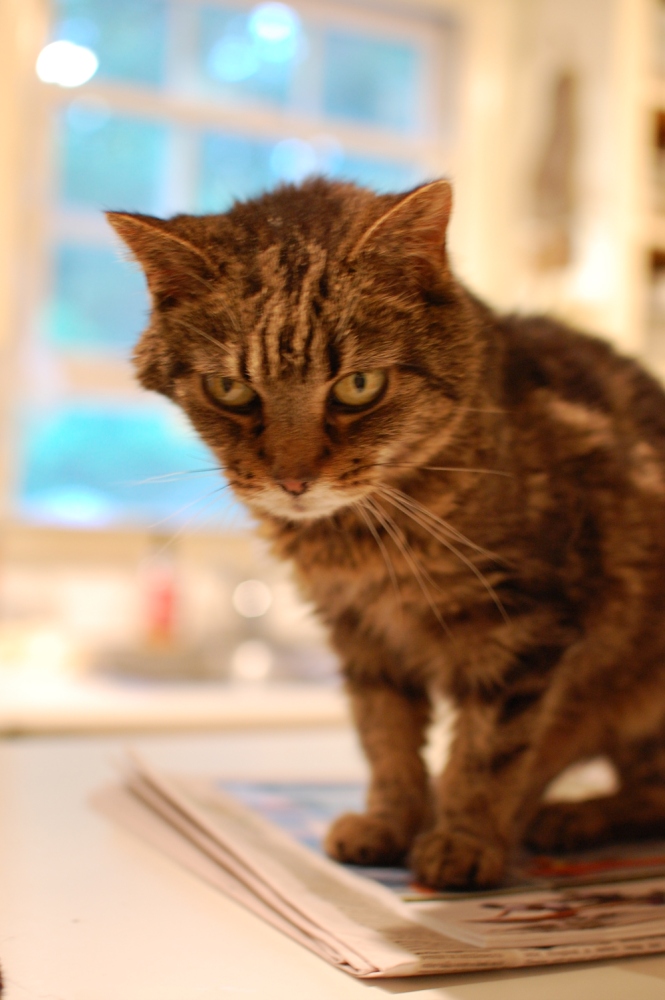
A little over a week ago, Harry began breathing hard. We took him in, the tech listened to his lungs. She did not think that he was suffering but that he should come back in the morning.
The doctor listened to him in the morning and said “I think that I will get a film”. The x-rays showed an enlarged heart and a little fluid. We brought him back in the evening and had held him while he was put to sleep.
Harry was my favorite.
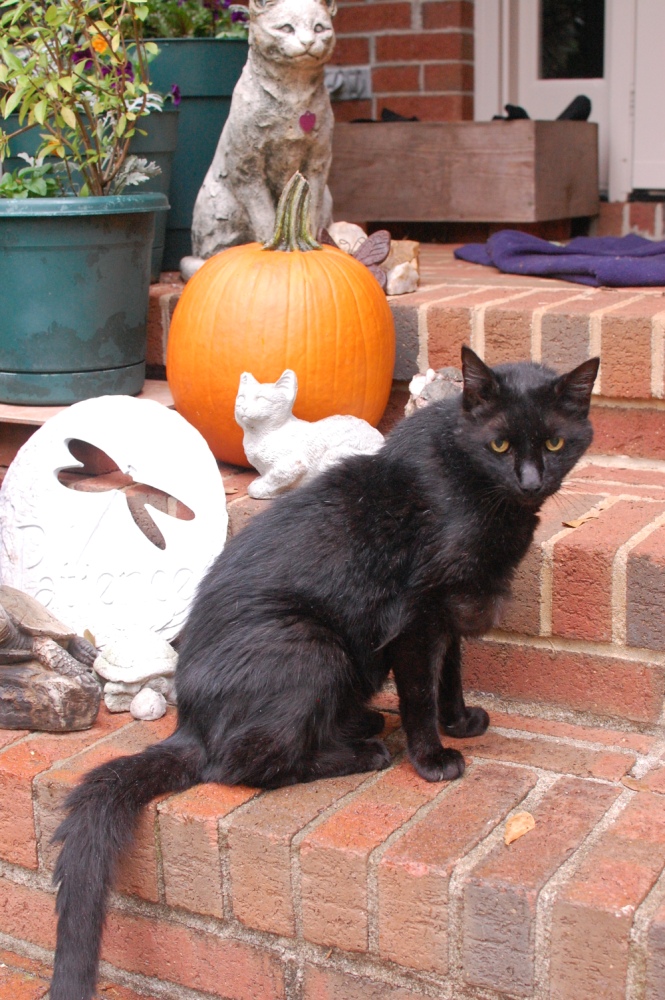
NotRumTum displaces Blackie BigHead. Momma RumTum displaces Onyx. RumTum finds a nice home. Did I mention that Momma RumTum has 3 ALL black kittens. Onyx (pretty black spaed female) needs home.
ElvisOur blind and deaf 18 year old cat is still with us. Here is a picture from the Fall. He has gotten to be an old man. He creates quite a bit of laundry and occasionally makes it to his litter-box. He gets wet cat food twice per day, 1 tbs. AM and 2 tbs. PM. He gets free choice dry food and water. He gets a walk outside every day that it is not raining.
A year ago last September, my wife found some Halloween decorations at a closeout table at Dollar Store. They were wire sculpture cat profiles. I used them to make a mobile.
But with the stormy whether that we have been having, the fishing swivel that I had used let go so Tuesday I replaced it with a new heavier #1 swivel.
My wife suggested that I needed to make another cat bed. Winter is coming on and there is no shortage of cats. Here again is how I do a quick-and-dirty cat bed.
This cat bed is not fine cabinet making. It is more like rough carpentry. But it makes a cozy bed that the cats seem to like.
This article refers to power and hand tools. Always use safe practices and follow all instructions provided by the tools manufacturer in using tools. Wear appropriate safety equipment. Failure to follow safe practices may result in injury.
After safety, the next thing to consider is how big to make it. If your cat curls up in a particular cardboard box or box lid, that is one place to start.
Measuring an old bed to size the new one.
I have never written down what size (before now) so I usually start by measuring an existing cat bed. This one will be 11 1/2″ x 16 1/2″ inside. 13″ x 18″ outside. These boxes get used by cats from 8 lbs to 19 lbs.
Another question is how deep to make it. Stock 1-inch lumber comes in 1×4, 1×6, 1×8, etc. I have made beds in all three depths. The shallow ones are occupied in summer and the deeper ones in the winter. Most of ours are made from 1×6.
Lumber need not be fancy.
When you select lumber, avoid edge knots, loose knots, and warps. But other than that you need not be picky. If you want to be fancy, oak makes a nice box as does cedar. I am using regular white pine here. The box is formed from two long sides that that lap the short sides so measure for 2 pieces 11 1/2″ long and two pieces 18″ long.
Cut these 4 pieces. Also find or cut several pieces of scrap wood to test the kerf formed in the operations below.
Trim the ends so both short sides are the same and both long sides are the same.
Mark the inside bottom where the groove will be
Choose the side that is less attractive on each piece. This is the side that will be inside where it will be covered by the blanket anyway. Choose the edge that is least attractive. This will be the bottom where the groove for the floor is. Mark the inside (ugly) side of each piece at the bottom.
Next adjust the saw to cut the bottom side of the groove. Set up your saw so the the fence will provide a cut that begins 1/4″ from the bottom edge.
Measure the fence
You can use a larger measurement. This will make the bed shallower and provide a large air space. The trapped air provides insulation. Measure from the side closest to the fence.
Raise the blade to a measured 3/8″. I used 1/4″ in the illustrations but have used 3/8″ in the past.
Adjust the cut depth
Using 3/8″ provides a deeper groove with more “slop” on the fit for the bottom. Using 1/4″ reduces the chance that the channel will split.
On my saw, I must remove the blade guard and splitter to perform the required operation below. If your saw is similar, use extra caution while working with the unguarded saw. This means using hold downs, fingerboards, and pusher sticks as suggested by the operating manual for your saw.
Pass a piece of scrap through the saw. Stop the saw. Measure the distance from the edge and the depth of the kerf. Adjust until satisfactory. Cut several pieces of scrap to the final setting. The extra scraps will be used to adjust the other side of the cut.
Pass each of 4 pieces, properly oriented through the saw. This forms one side groove. Make sure that each piece is held down snugly and against the fence as it is passed through. Check each piece to make sure the groove is straight on the bottom edge and that the bottom of the groove is flat.
Measure to the outside
With the saw stopped, reposition the fence so that the side of the blade away from the fence is far enough away to complete a groove the thickness of plywood bottom. Using one of the pieces of scrap, cut the groove. Use a 1/4″ chisel to remove the waste. Verify that the groove is a snug fit on the plywood. Adjust until satisfactory.
Again pass each of 4 pieces, properly oriented through the saw. This forms other side of the groove.
Four grooved sides
Make sure that each piece is held down snugly and against the fence as it is passed through. Check each piece to make sure the groove is straight on the bottom edge and that the bottom of the groove is flat.
Carefully use a 1/4″ chisel to remove the waste.
Carefully remove with a chisel
Do a trial assembly without the bottom using clamps and check the measurements.
Measure the trial assembly
You will want the to cut the plywood bottom just a scosch smaller than the distance between to bottoms of the kerfs. Measure carefully. You can easily see the bottoms of kerfs on the ends. Harder to measure is the long dimension. But it is the outside length – 1 1/2″ + 2 x kerf depth (nominally 3/8″ times two). Do the calculation then measure to the wood and verify by eyeball that your calculation is correct.
Measure the plywood and cut. If you prefer, you can cut a bit oversize, then make trimming cuts until the sides fit properly.
Sand the sides if desired. Finish if desired. We typically leave the beds bare wood.
Mark the long sides for drilling 3/8″ in from the end and 1 inch from the top edge and bottom edge.
Assemble the sides and bottom.
Trial Assembly with bottom
Clamp the assembly.
Drill and countersink for screws.
Drill and Countersink with Screw
Screw together with 1 1/4″ screws. Brass screws are best for outdoor use. When I drive brass screws, I pre-drive and then remove a steel screw the same size. Regardless of which kind, I soap or wax the screw to reduce driving friction.
When the screws are in, line the inside with a piece of Polarfleece® or similar material.
Kittens are too cute. These kittens are 4 cute. Two boys and two girls. Mama was torn up by some animal. Found by a greenskeeper and brought to shelter.
Many days when I get home from work, Adah waits by the door of the car until I open it. She jumps in my lap squeezed by the steering wheel. Or sits on the seat next to me and wants to be patted. I do not know how long I could pat her before she tired. I have never patted her like that for more than 10 minutes.
Our cats are mostly outside cats. The boys (Hillard, Harry, Bullett, and Lorenzo) are definitely outside. Lorenzo cannot be trusted in the house at all, Harry is trained to go straight to the bedroom when he comes in. Bullett and Hillard seem to be ok but always go out when then need to go. The girls on the other hand seem to need to be in. Is it the privacy? Tabby goes in the box if it is clean but has intentionally gone on the rug. Adah goes in the box if one is clean and available. Otherwise it is unpredictable where she will go. As a result, we have shifted from clay litter to pine-bark mulch. We get the mini-nuggets. The regular pine bark is to large. And the ground pine mulch is too fine. There is too much track out even though it is more absorbent. With the mini-nuggets, cat can keep her feet clean and cover if she wants to without too much getting out of the box. Except for Adah who is too energetic with the covering.
We go through a 2 cu-ft bag per week. This is with changing each box after each use. To get rid of the stuff, I put it around the trees and in the garden. No need to fill up the landfill.