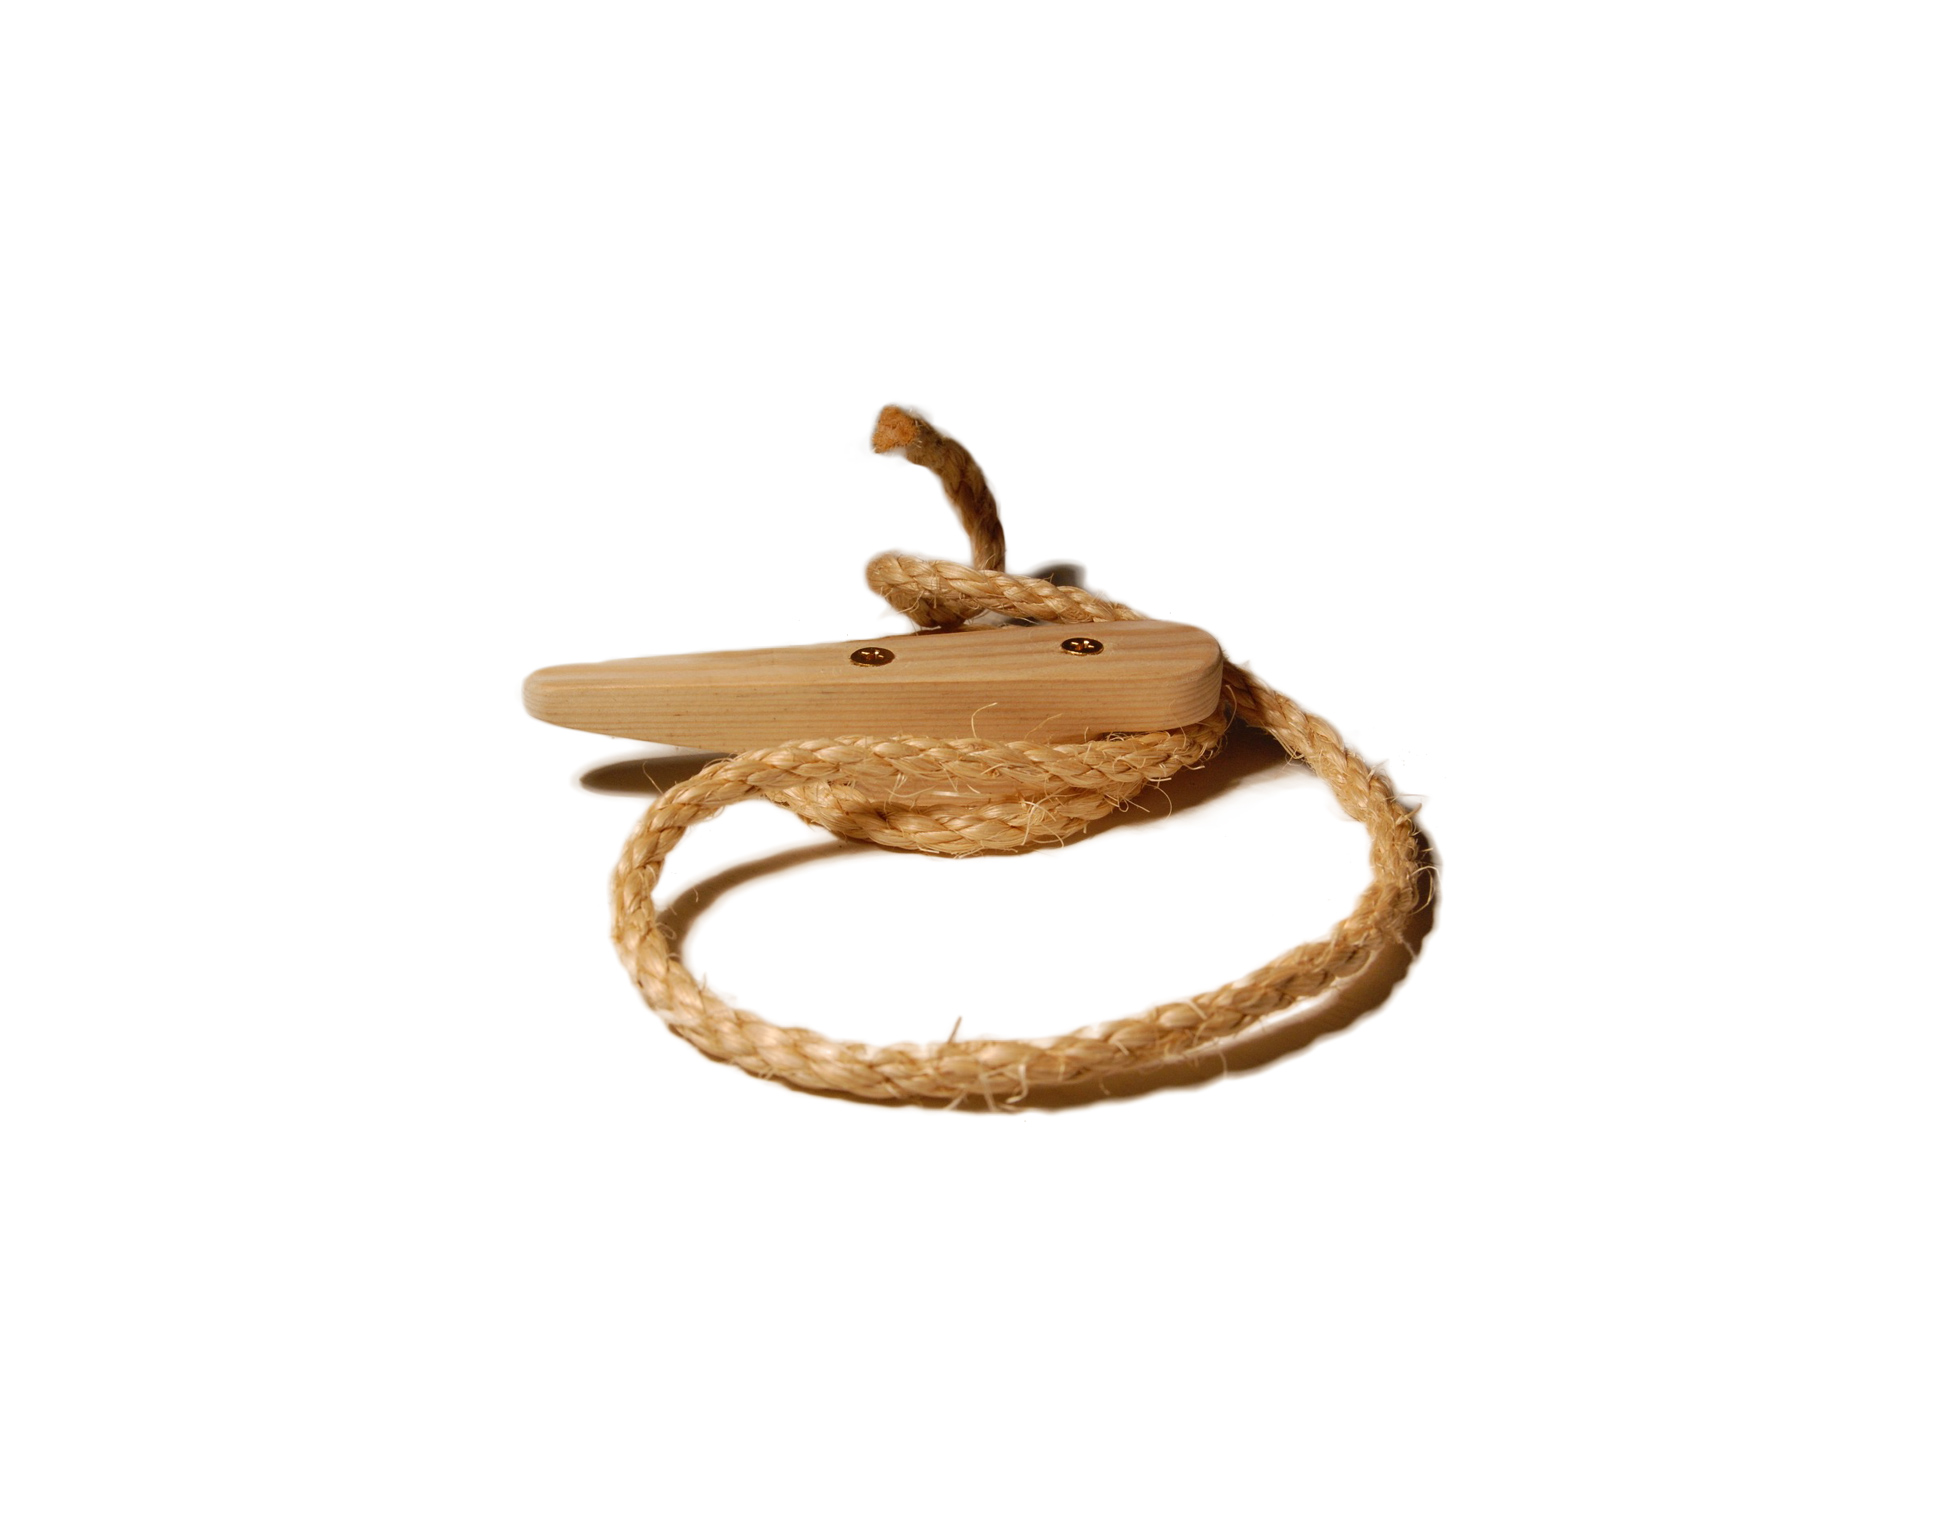
A wad of Seal-All or Goop would have held it on, or perhaps a wad of epoxy. But is one those small areas with high shear and high bend potential where glue has real difficulty.
Instead, I decided to drill a dowel to make a bushing, drill the landing gear strut to hold a screw and assemble the wheel, bushing, self-tapping screw and washer. I filed the point of the screw where it came through.
Chair Repair
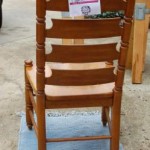 We have had the dining room furniture for about 28 years. I have put some of it back together. Originally from J.C.Penney, the furniture is nice wood but quickly put together. The biggest problem in getting it apart is that the spindles, back, rungs, and frames are held together with those corrugated wood fasteners. It is very difficult to get the chairs apart without some damage. Ideally, you can take a chair apart with a firm tap (with a hammer and a protective wood pad) to separate the glue joint. With the fasteners, careful wiggling and pulling is required in addition to the tap.
Working with the pictures in the Gallery, a back and side view of the chair. In the second row left, a screw has worked loose allowing the frame to flex. Normally, the frame would be rigidly held by he seat. On the right a spindle has come loose from the leg, allowing the other legs to flex and work their joints loose. In the third row, as the frame works, the pegs that are glued into the the leg loosen and work. The glue block that holds the frame tight, has broken loose and is retained only by the staples used in assemble. Third row, right, before dis-assembly, use masking tape and a marker to identify the left and right pieces and where they are in the chair and how they are oriented. The back pieces are labeled 1-Top, 2, 3, 4-Bottom, Left (relative to sitting in the chair), Right. The Legs, Left-Front, Right-Front, the frames are labeled Front-Left (with the label to the left), Frames – Rear-Left, Left-Rear (with the label to the rear), Right-Rear, Runs Rear-Left, Left-Rear, Right-Rear, Front-Left-Top, Front-Left-Bottom.
When the labeling is complete, use a stubby Phillips screwdriver to remove the screws that hold the seat to the frame. Remove the seat d set it aside, put the screws in a baggy. Then use tapping and pulling to disassemble the chair. If a joint is tight and firm, there is no need to separate it. But be diligent to get the loose ones apart. Clean the loose glue from surfaces, holes and spindles of the separated parts. I prefer “Chair-Loc”, a compound that swells the wood and tightens the joint rather than glue for re-assembly. For it to work properly, clean wood is best. On the other hand, excessive scraping or sanding will make the joint loose and require additional work to make it tight.
On re-assembly, plan ahead. Make sure that you understand what joints are going to go back together and how. With chairs, the legs move toward the center simultaneously during re-assembly. Put Chair-Loc in each of the open holes and on the spindles before insertion. Work quickly before the wood has a chance to expand. Assemble all 4 legs, the 4 back panels, 4 frame pieces, and 5 rungs and press together. Use bar clamps and tapping to bring them firmly together. Make a bowline knot and throw it over a leg and wrap the chair with rope. It takes about 30 feet (10 meters) to wrap. Use a taut-line hitch around the back fineal and tighten to hold firmly while the Chair-Loc works. See the Gallery bottom left. Drip some Chair-Loc in the joints that you did not separate as well. Glue the glue blocks and clamp. Gallery bottom right. Use a damp rag to remove any spillage.
After a couple of hour, remove the clamps and rope.
Bad News
My wife had a friend in for a chat. I was working at home as I sometimes do. The upstairs gets warm because of the roof. After the friend left, my wife said, “I hate to be the bearer of bad news but the air conditioner is out”. The usual tests, “call for cool”, “call for heat”, “fan only”, all fail. So the question is “Where is the problem?”. Looking into it, the LED on the control module is out. Checking the 5 amp fuse on the control module shows the puff of smoke. Jumpering the fuse with some light wire and flee clips (don’t forget to turn the power off at the breaker) brought the A/C to life. Off to Walmart to get a replacement fuse. The fuse is the same kind used in older autos with flat lugs. Walmart had 10, 15, 20, 30 in that still 5 to a pack. The only way to get 2 5’s was to buy a $16 combo kit. Since I figured it started OK with the jumper on. And the jumper did not feel warm after a couple of minutes, probably not a short. Bought the fuses and put the correct value 5 amp in to replace the jumper. (Don’t forget to turn the power off at the breaker).
My son’s car and my wife’s car use the new style fuse with pointed lugs.
My daughter’s car and my car use the old flat lug style. Hopefully, I will still have the same set of fuses unused when the cars need to be replaced.
Moral: Don’t Panic. Check the on-board fuse before you call an expensive service-person..
My wife mentioned that there was power surge that I did not notice since my laptop battery covered for the loss of public power.
By the way, the cool weather came in for the Labor day Weekend and we have had the windows and doors open since Saturday.
The Player is down
 The other night, my wife went to shut the Player off. And it would not go off. The push-on-push-off switch that has served faithfully for 25 years was stuck. She got it off by unplugging it. When I plugged it back in the next day, it did not seem to come on.
The Player is Radio Shack ™ Realistic ™ STA-2500 Digital Synthesized AM/FM Stereo Receiver. The advantage of this particular device is the variety of stuff and internal switching that it has. Enough connections for dual cassette tape, 6-channel mixer, Karoke center-channel suppression, phono turntable, CD player, computer audio feed, upstairs and downstairs speakers. It’s in there. All media, all the time. When the Player is down, it is…well, quiet.
I recorded a diagram of the colors and connections of the cables to all of the above then pulled the plugs.
I found the circuit diagram with the other documents. They were too small to read. I scanned them and blew them up to 4 times the size.
I then took off he covers. This thing is like an onion. 4 screws for the particle-board walnut-look end panels. 3 screws for the back edge of the top cover. 6 more screws for the aluminum front panel. 6 snap clips release the front panel lable layer. Then I can get to the 2 screws for the power switch. I get the switch assembly out. I cycle it a couple of times. I plug in the power cord being careful not to touch anything electric. Get radio over the headphones. Switch on. Switch off. Put it all back together. Don’t you just hate when you didn’t do anything but now it works.
Furnace Trouble
We have one of those Carrier combination air conditioner and furnace units. This sort of makes sense since they share the same duct work. We had some trouble with the air conditioning side a few years ago and last year began having intermittent trouble with the furnace.
The symptom for the furnace trouble is that when the thermostat calls for heat, the inducer blower runs but there is no flame. At least no flame when you realize that you hear it running but there is no heat coming from the register. This has always occurred when there was precipitation and falling temperature. Around here that means fog forming or ice storm, usually at night. Not the best time to lose heat or work on the system. So far we have been lucky. If you smell gas, turn the gas off, turn the power off, and call a repairman. Otherwise Quick Fix: Turn the circuit breaker off. Wait 20 seconds. Turn circuit breaker on. The system seems to restart ok. This might be the best solution to get the heat back on. But it does not fix the problem.
This unit (Model number starts with 48SS. The next 3 digits are a capacity of the A/C unit) has an electronic circuit board that performs the starting and safety logic. When it detects an error, it displays an error code as a sequence of flashes of a red LED. It may display more than one code so count pulses and pauses until you get the same count twice. For example it could do flash-flash-pause-flash-flash-flash-pause-flash-flash-pause-flash-flash-flash-pause…. This would indicate errors 2 and 3 (if this were a possible condition). Understanding the error code is essential to pin-pointing the problem. But the errors are reset if you turn the power off. So if you can, leave the power on. If you smell gas, turn the gas off, turn the power off, and call a repairman.
In order to see the circuit board and the indicator LED you will need a 5/16″ socket to remove 2 screws at the bottom edge of the panel marked “Burner Control” on right hand side. If the label is gone, this is to the left of and around the corner from where the exhaust and gas line come out of the unit. After removing the screws, bring the bottom of panel toward you and allow it to slide down, out from under the lip at the top. The left side of the panel sits in a groove to provide a seal so there may be a bit of friction getting it loose.
The control board will be at the top left of the open compartment. Look for a red LED. If it is on solid, no error is indicated. If it is off, there is no power to the unit or the control board has failed. Call a repairman. If it is flashing, count the flashes and write them down. Replace the cover by inserting the left edge in the groove and the upper edge under the lip. Press the panel against the unit and start the screws. Tighten the screws. Reset the unit by turning the circuit breaker off. Wait 20 seconds. Turn circuit breaker on. Verify that the thermostat is calling for heat. If the unit does not start, you will need to call a repairman.
Longer term fix: The error code we saw was an 8. This indicates an “internal controller fault”. A web search for related problems suggest several things:
- Check the circuit board above the 2 white squares. There are two resistors there. Charing may indicate that the circuit board has overheated.
- Check for corrosion. This may affect the ground connection of the circuits. If there is evidence corrosion, you may need to clean it off to get a good connection. Examine the inside of the firebox (heat exchanger) with flashlight. If excessively corroded, you will need replacement. Call a repairman.
- Remove debris from the control box. The burner(s) are located in the bottom of the box. While the circuit breaker is off, vacuum cob webs, wasp nests, leaves, etc. out of the control box.
- Some units may have a “sail switch” to detect air flow. If one exists, check for free operation.
- Other units have a Hall Effect sensor to detect rotation on the inducer fan motor. Google for or check this thread (scroll down to djken post) or themanual for instructions on how to test the Hall Effect sensor.
- When you turn the circuit breaker back on and the unit restarts, check to make sure that the flame from the burner is induced completely into the hole in the heat exchanger before you replace the cover and tighten the screws. Oversize flame or insufficient draft require adjustment. Flame outside of the combustion chamber is known as “flame roll-out”. Treat this condition as dangerous and get it repaired promptly. When roll-out is detected on this unit, the inducer blower and the house blower continue to run to cool things off.
Error codes for Carrier 48SS series
| Error | LED Indications |
|---|---|
| Normal Operation | On |
| Hardware Failure | Off |
| Fan On/Off Delay Modified | 1 Flash |
| Limit Switch Fault | 2 Flashes |
| Flame Sense Fault | 3 Flashes |
| Four Consecutive Limit Switch Faults | 4 Flashes |
| Ignition Lockout Fault | 5 Flashes |
| Induced-Draft Motor Fault | 6 Flashes |
| Rollout Switch Fault | 7 Flashes |
| Internal Control Fault | 8 Flashes |
N.B.:
- There is a 3-second pause between error code displays.
- If more than one error code exists, all applicable error codes will be displayed in numerical sequence.
- This chart is on the wiring diagram located inside the burner access panel.
Mobile Repair
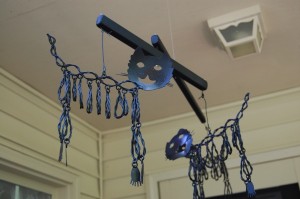
A year ago last September, my wife found some Halloween decorations at a closeout table at Dollar Store. They were wire sculpture cat profiles. I used them to make a mobile.
But with the stormy whether that we have been having, the fishing swivel that I had used let go so Tuesday I replaced it with a new heavier #1 swivel.
Bad News, Good News
Saturday, my son and I were cutting up the accumulated brush and fallen limbs from 3 years of dry weather. I try to keep the pile small so it is not unsightly. But with the drought that we have had, I did not feel it was safe to burn. I had started on it a year or so ago when my old McCulloch chainsaw went bust.
Bad news: New Homelite chainsaw in hand, we were cutting off small lengths and burning to make a pile of coals to grill some hot dogs. We had got about 20% of the pile done, and actually about all that we could do in that afternoon, the exhaust note changed from a motor sound to a sharper, harder sound. I thought at the moment that it sounded like a large model airplane. My son pointed to an object on the ground where I was cutting. I quickly stopped the saw. It seems the screws had come out of the muffler and the muffler had fallen off. No wonder it sounded like a model airplane. It was just like a 2-stroke model airplane engine with no muffler. As in a model airplane engine the combustion chamber is open to the world when the piston clears exhaust port. Big noise. And the screws were nowhere to be found in the rubble and stubble under the brush pile.
That was on Saturday. I was busy Sunday and Monday but had Tuesday off. I called the Homelite toll-free help number. The menu options had changed to better serve the customers. The number one option on the first menu was “…to get the correct fuel-to-oil ratio for your power tool”. Option 2 was anything else. The second menu was “Order parts or supplies press 1” and “Talk to a representative press 2”.
There was a hold as all representatives were “serving another customer”. But that hold was less than a minute. Shana was very helpful. I gave the model and serial number. She responded that “If it has been less than 30 days, you can take it back to Home Depot. If more than that, you will need to take to an authorized service location”. Now that is some information system. That indicates that that lot of tools was sold through Home Depot. She further suggested that she get my zip code and gave a choice of two locations for Authorized Service, both about 10 miles away.
Next to find the receipt. My wife went through a pile of recent receipts. Not Found. Then she remembered that that receipt was on a magnet on the side of the refrigerator. It turns out that I had bought the saw 32 days before. Receipt and map to 5 Points Mower Repair, I headed out.
Home Depot is about 2 1/2 miles away. I took the saw in to the returns desk, setting off the loss prevention alarm on the way. A young woman named Meg listened to my story and asked what I wanted to do. I suggested exchanging just the saw since I had used the oil and written in the book. She suggested that I just get a similar saw off the shelf and exchange the whole thing. So that is what I did. She typed in the return reason in the register and gave me back the old receipt. About 3 minutes elapsed time. Homelite customer service and Home Depot return experience are pretty Good News!
British Cars Repaired, Restored, Revitalized
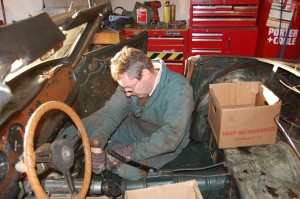
My neighbor has a hobby restoring classic British sports cars. I have seen his work on his own cars and on jobs that he has done for others. The work is always top-notch. He does take the time to do the job right. He has a fine web site too.

Chainsaw Massacre
I had planned to do an article about the successful resuscitation of my 14 year old McCulloch chainsaw. The bad news is that the operation was not successful and the patient is mostly dead. I asked my friend and former neighbor Doug if he had any ideas. Doug restores antique small engines and knows a lot about these things. His advice was throw away the McCulloch and get a Homelite.
So that is what I did. Hurricane Ida blew through here with a bit of wind and a lot of rain.

A dead pine tree blew over.

And an Austree that had previously been laid low by ice apparently became waterlogged at the top because it fell down after the rain had stopped. They needed to be cleaned up. And with a clear direction on the chainsaw front, I went looking for a Homelite.
Lowe’s did not have them. They had Paulen (budget) and Husqvarna (pricey). I had used a neighbor’s Paulen while my saw was waiting repair and with the Homelite recommended, decided to keep looking. WalMart does not appear to carry chainsaws. Home Depot had Homelite and Echo. The price to replace the 14″ saw was $99. The 18″ saw was on sale at $130. A $20 savings. Since the saws now have a nose guard that must be removed if you are cutting through wood longer than the blade, and I had sometimes been frustrated by the 14″ blade, I went with the 18″.
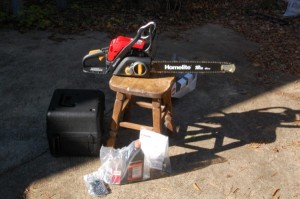
The end result was I was able to clean up the mess and spend two days carrying stuff to the brush pile.

TPS replacement
No, not the TPS report from Office Space but the throttle position sensor in my daughter’s 1993 Olds Ciera.
The Check Engine light was on last time she was here. We read it out with the Actron CP9135 scan tool . The code 22 indicated that the voltage on the TPS was low. Since this is a 1993 Oldsmobile Ciera, replacement was probably indicated.
She brought the part with her for this visit.
The TPS on this 3.3 MFI engine faces down toward the upper radiator hose pipe. No clearance for a normal screw driver. If we had had a flat ratchet offset style driver, that would have been ideal. Lacking that, after disconnecting the battery and removing the air cleaner and its mounting plate, we used a needle-nose vise grip to break the 2 screws loose. Then used a #1 Phillips tip in a holder to get them out. Replacement was a matter of holding the screws in the TPS while aligning the paddle that is pushed by a similar paddle on the throttle shaft. Starting both screws by finger, running them in with the mini screwdriver and snugging them with the vise grip. Reconnect the battery and test. Put the air cleaner mounting plate and air cleaner back on. Clamp the air inlet hose where the strap had broken and done.
