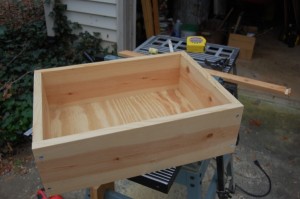
My wife suggested that I needed to make another cat bed. Winter is coming on and there is no shortage of cats. Here again is how I do a quick-and-dirty cat bed.
This cat bed is not fine cabinet making. It is more like rough carpentry. But it makes a cozy bed that the cats seem to like.
This article refers to power and hand tools. Always use safe practices and follow all instructions provided by the tools manufacturer in using tools. Wear appropriate safety equipment. Failure to follow safe practices may result in injury.
After safety, the next thing to consider is how big to make it. If your cat curls up in a particular cardboard box or box lid, that is one place to start.
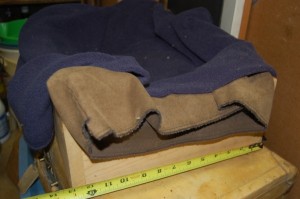
I have never written down what size (before now) so I usually start by measuring an existing cat bed. This one will be 11 1/2″ x 16 1/2″ inside. 13″ x 18″ outside. These boxes get used by cats from 8 lbs to 19 lbs.
Another question is how deep to make it. Stock 1-inch lumber comes in 1×4, 1×6, 1×8, etc. I have made beds in all three depths. The shallow ones are occupied in summer and the deeper ones in the winter. Most of ours are made from 1×6.
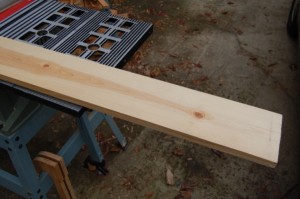
When you select lumber, avoid edge knots, loose knots, and warps. But other than that you need not be picky. If you want to be fancy, oak makes a nice box as does cedar. I am using regular white pine here. The box is formed from two long sides that that lap the short sides so measure for 2 pieces 11 1/2″ long and two pieces 18″ long.
Cut these 4 pieces. Also find or cut several pieces of scrap wood to test the kerf formed in the operations below.
Trim the ends so both short sides are the same and both long sides are the same.
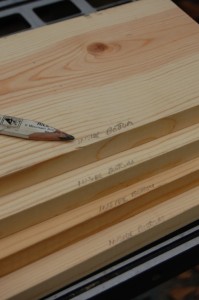
Choose the side that is less attractive on each piece. This is the side that will be inside where it will be covered by the blanket anyway. Choose the edge that is least attractive. This will be the bottom where the groove for the floor is. Mark the inside (ugly) side of each piece at the bottom.
Next adjust the saw to cut the bottom side of the groove. Set up your saw so the the fence will provide a cut that begins 1/4″ from the bottom edge.
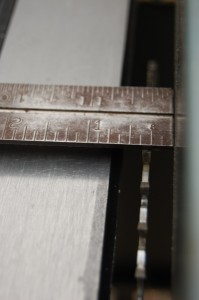
You can use a larger measurement. This will make the bed shallower and provide a large air space. The trapped air provides insulation. Measure from the side closest to the fence.
Raise the blade to a measured 3/8″. I used 1/4″ in the illustrations but have used 3/8″ in the past.
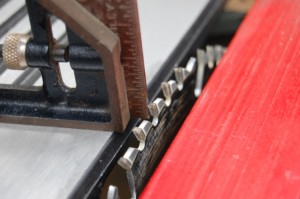
Using 3/8″ provides a deeper groove with more “slop” on the fit for the bottom. Using 1/4″ reduces the chance that the channel will split.
On my saw, I must remove the blade guard and splitter to perform the required operation below. If your saw is similar, use extra caution while working with the unguarded saw. This means using hold downs, fingerboards, and pusher sticks as suggested by the operating manual for your saw.
Pass a piece of scrap through the saw. Stop the saw. Measure the distance from the edge and the depth of the kerf. Adjust until satisfactory. Cut several pieces of scrap to the final setting. The extra scraps will be used to adjust the other side of the cut.
Pass each of 4 pieces, properly oriented through the saw. This forms one side groove. Make sure that each piece is held down snugly and against the fence as it is passed through. Check each piece to make sure the groove is straight on the bottom edge and that the bottom of the groove is flat.
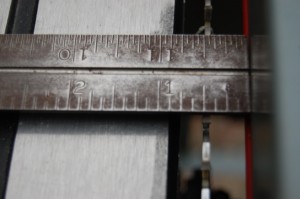
With the saw stopped, reposition the fence so that the side of the blade away from the fence is far enough away to complete a groove the thickness of plywood bottom. Using one of the pieces of scrap, cut the groove. Use a 1/4″ chisel to remove the waste. Verify that the groove is a snug fit on the plywood. Adjust until satisfactory.
Again pass each of 4 pieces, properly oriented through the saw. This forms other side of the groove.
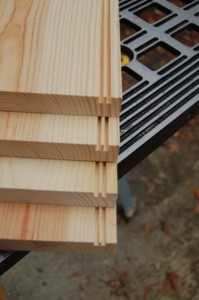
Make sure that each piece is held down snugly and against the fence as it is passed through. Check each piece to make sure the groove is straight on the bottom edge and that the bottom of the groove is flat.
Carefully use a 1/4″ chisel to remove the waste.
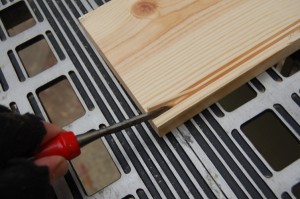
Do a trial assembly without the bottom using clamps and check the measurements.
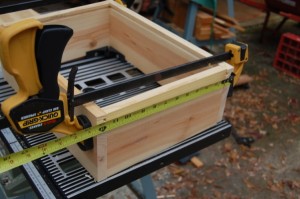
You will want the to cut the plywood bottom just a scosch smaller than the distance between to bottoms of the kerfs. Measure carefully. You can easily see the bottoms of kerfs on the ends. Harder to measure is the long dimension. But it is the outside length – 1 1/2″ + 2 x kerf depth (nominally 3/8″ times two). Do the calculation then measure to the wood and verify by eyeball that your calculation is correct.
Measure the plywood and cut. If you prefer, you can cut a bit oversize, then make trimming cuts until the sides fit properly.
Sand the sides if desired. Finish if desired. We typically leave the beds bare wood.
Mark the long sides for drilling 3/8″ in from the end and 1 inch from the top edge and bottom edge.
Assemble the sides and bottom.
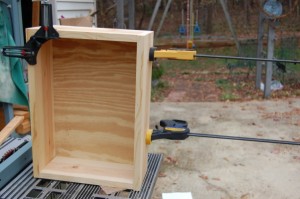
Clamp the assembly.
Drill and countersink for screws.
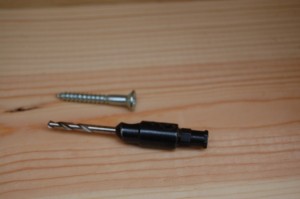
Screw together with 1 1/4″ screws. Brass screws are best for outdoor use. When I drive brass screws, I pre-drive and then remove a steel screw the same size. Regardless of which kind, I soap or wax the screw to reduce driving friction.
When the screws are in, line the inside with a piece of Polarfleece® or similar material.
Set it in a place where your cat will feel safe.
