Flower Flyer Rebuild

The Flower Flyer started as a re-build.  My wife had found a rusted coaster wagon in someone’s trash and dragged it home.  I built a body for it and painted it green.  Phillip made a stencil and painted Flower Flyer on the sides.  It was a pretty thing.

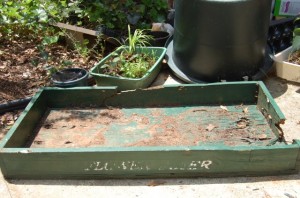
But the outdoor storage was hard on it and it developed dry rot.  Time for a new body.  I was sure that I had a picture of it but cannot find it.  After I took it apart, I took a picture of the body as it was.

Flower Flyer body
Flower Flyer body

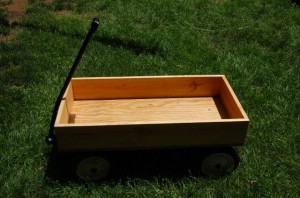
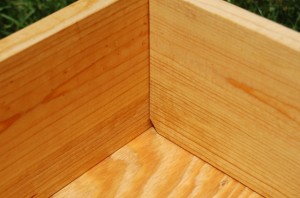
Using a sheet of 3/4 inch plywood and higher 1×6 pine sides, I built the new body.  This time I put scuppers in it so the body would drain better.  I used brass screws to reduce the rust and the start of rot.  I also treated all of the parts with linseed oil and pine tar before assembly.  Here is the new Flower Flyer.

Rebuilt Flower Flyer
Scupper Detail on each corner

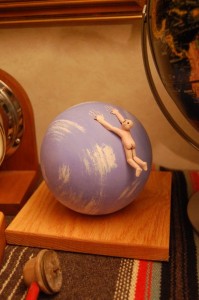
Sphere of Falling

Sphere of Falling - a man hanging on to the top of a globe Many years ago, my late mother gave me a birthday present Sphere of Falling.  Over the years I have never failed to smile whenever I see it.  Sphere of Falling is a hollow clay sphere.  It must have been very difficult to make. It is very round.  The small base of the sphere is flat and it stays in balance on its own if left undisturbed.  But if bumped, it will roll.  At some point I got concerned and made a base for Sphere of Falling.  There is a post in the middle of the base that keeps the sphere from tipping or rolling.

A few weeks ago, one of Mr. Sphere of Fallings feet got bumped and broke off.  A spot of glue put him right and he is again back where he lives

Sphere of Falling was created by Meg Scott.  Now she teaches Laughter Yoga .

Icemaker III

Icemaker quit. Icemaker broken. Icemaker does not work again. Icemaker motor stalls. This time the fix is simple. Warm up the ice until it dumps one more time. Back off the cube size (on my icemaker, 1/4 turn CCW). Test.

Perhaps more involved for this fix as the freezer was full. I have sometimes been able to get the ice to come out by pouring hot water to melt the previous cycle or using a hair-dryer to warm it up enough that it comes out. This time I removed the bottom screw that attaches the unit to the freezer wall and loosened the two top hanger screws. Unplugged the connector (squeeze the tabs and work loose), removed the icemaker unit until is was thawed. Made the adjustment (1/4 turn CCW) and replaced. Works good.

Car Repair II

My Check Engine light has been on for some time.  I read it out with the scanner and it says “EGR #1 Error”  or perhaps #2 or #3.  I took the EGR valve off and it may be OK or it may be bad.  I replaced it a year ago but that did not fix the EGR indication.  I cleaned out the port underneath where the exhaust would go to the manifold. I put it all back together and it seemed to be OK. But the light comes on again after not too long.  I guess I will have to keep messing with it.

Car Repair

Several weeks ago I drove to work in a heavy rain. On the way, I went too fast through a deep puddle. I stayed on the road and nothing seemed out of whack with the car. But when I started the engine that evening, there was definitely something amiss. A loud rattling sound came from underneath. There were no warning lights and nothing else seemed wrong, so I drove home. After the engine was warm, the noise stopped.

That is until, I reached the driveway. Going over the bump at the end of the drive caused the noise to return. Once parked, I looked underneath. I saw nothing obvious. I checked again later after the car had had time to cool. I shook the catalytic converter and the tail pipe. It was clearly making contact with the heat shield. But I could not tell where.

This last weekend, I borrowed a pair of the small ramps and got a good look underneath. Where the exhaust pipe made a bend in front of the rear axle, the heat shield was bent just enough to contact it when it was cold. Some light finger pressure and a shake to check the clearance was all that it took to straighten the heat shield. No more noise.

Icemaker Repair II – part 2

The previous post talks about the problem with the ice maker. This is about the fix.
Basic ice maker theory. 1. Put water in a container. 2. Put it in a cold place and 3. wait until it freezes. 4. Warm the container until the ice is loose enough to come out. Repeat.
Automatic ice maker theory. Actually begins with step 3 since this is where you will find the automatic ice maker most of the time. There is a thermal switch that detects when the container (and the ice inside) is at a frozen temperature. When this happens, the switch closes and the motor rotates the paddles. A switch turns a heater to warm the ice mold to loosen the ice. The paddles push against the ice.. The motor will push the paddles against the ice until the ice releases. When the ice releases, the paddles continue around and push the ice into the catcher. At some point the heater turns off and the water is turned on to refill the mold. There is a small slotted adjuster on the side of the unit that sets the amount of water and hence the size of the ice chunks.
My unit was somehow jammed. I poured about 1/8 cup (.03 liter) of water to get the cubes loose. The paddles rotated and the cubes came out. It refilled normally. The water going in made a noise like the mold might have been really hot. The ice made in about 20 minutes and came out normally. I reduced the cube size slightly (clockwise 1/16 turn of the slot with my thumbnail) to reduce the force required to push out the cubes.
It is still working a week later.

Ice Maker Repair II

About a year ago, the ice maker in the fridge died. Since my brother and his family were on the way from where-ever to visit and spend the night, ice was vital. I went to the part store and got a new ice maker and put it in.
Recently when the ice maker started making no ice and an annoying clicking noise in midweek, no panic but genuine annoyance. There is good new and bad news. I can look at it on the weekend but the parts store is open week days. I unplugged the plug and my wife put the ice tray in the freezer.
On the weekend, I had time to look. The ice maker has a white cover on the end. It has some catches on the side away from you that you understand once you have it off. Slip a flat-blade screwdriver under middle of the lower edge and work it in a bit until you release the catches. Gently but firmly. The plastic cover comes off and reveals the motor unit. The shaft of the motor (on the side away from you) turns a shaft with a set of paddles on it. There is a metal mold to form the semi-circular-segment prism ice “cubes”. There is also a heating element and a thermal sensor. The underside of the cover has the a sticker with some clues to as to how it works.
The next post will discuss the fix.

Chair Repair

Today’s project was the re-assembly of a chair that was disassembled 3 weeks ago. The nature of chair assembly is that once you begin, you must finish all of the stick together parts in one session. The screw together parts can be done later but because of the way chairs are, they need to go together all at once. Allow adequate time. The three week lag was because I did not have a clear spot on a weekend long enough to keep it open ended.Let inertia work for you.

The first step in chair repair is get the chair completely apart. If the chair has failed catastrophically, there may be broken parts along with parts that are still quite tight together. If the chair is just wiggly and loose, many of the joints are probably ready to come apart with the appropriate amount of force. It may be difficult but you must make sure that you have all of the pieces that will or can come loose, loose.

IMPORTANT – as you remove each piece, mark it so that it can be re-assembled in the correct orientation. Make the left of the chair as you sit in it the left. Mark each piece in an inconspicuous spot with Front/Left/Top etc. so that you cannot be confused when it is time to assemble.

CAUTION – watch for modern short cuts that may render your chair difficult or impossible to repair. Staples, pins, repair plates, steel wedges are difficult to remove, damage the wood fibers and are the topic of another future blog entry.

Disassembly proceeds easily at first and then becomes more difficult as the pieces get harder to separate. For large pieces, this can mean working them apart by pulling and wiggling. I find wiggling the piece in a rotating pattern with occasional reversal of direct the most effective. Sometimes rocking side to side is best. Rarely, you may need to wedge some like a stick of wood where the scars will not show and leverage against it to get movement.

Another technique is the tap. Tapping with a rubber mallet can do the trick. Mine is white rubber and does not mark. A hammer, carpenter’s hammer or machinist’s, provide a firmer force. Protect the struck piece with a smooth piece of scrap. The sharp blow of a hard hammer may be more effective at breaking a glue joint. Let inertia work for you. Watch the rebound.

Once you have all of the big pieces apart, try and get the pegs out. Grasp the peg with a pair of slip-joint pliers. See if there is any movement at all. If there is, try to work the peg out its hole. If there is no play and tapping does not loosen it, skip it.

Inspect the pegs. Replace any that are cracked and those that have left a chunk in the hole.

Check the holes. Clean them out with a drill of the appropriate size. Remove any glue left in the hole. Modern glues may not stick to themselves or other glues. Old glue, such as hide glue needs to be renewed so get it out of there.

Clean up the ends of the rungs and the holes in the spindles and rails. Use 60 grit or 40 grit sandpaper to get the glue of and the pegs and pieces smooth. Get everything cleaned up for smooth re-assembly.

Once you have it apart, lay out the parts in the order that you are going to assemble them. Some chairs have to be assembled all 4 corners at once. Others like the one I was working on today can be assembled from front to back or back to front.

The first assembly is a dry assembly. It helps you to do the final assembly correctly and easily.

For my chair, I joined the two front legs with a rung, 4 pegs, and the front piece. Observe the surfaces and the left to right orientation. This I laid flat on the floor. I then added 2 rungs and a side piece on each side.

Separately, I assembled the back. There were 4 back slats, the back seat support, and a rung (which I could not get out). I then put the back onto the front. I noticed as I was doing this a hole that retained a piece of the peg. An I had replaced the peg with a fresh one because it was split. If I had been working with glue, I would not have had time to clean up the hole and get it together before the rest of the chair got too stiff to work with. This is why we do a dry assembly.

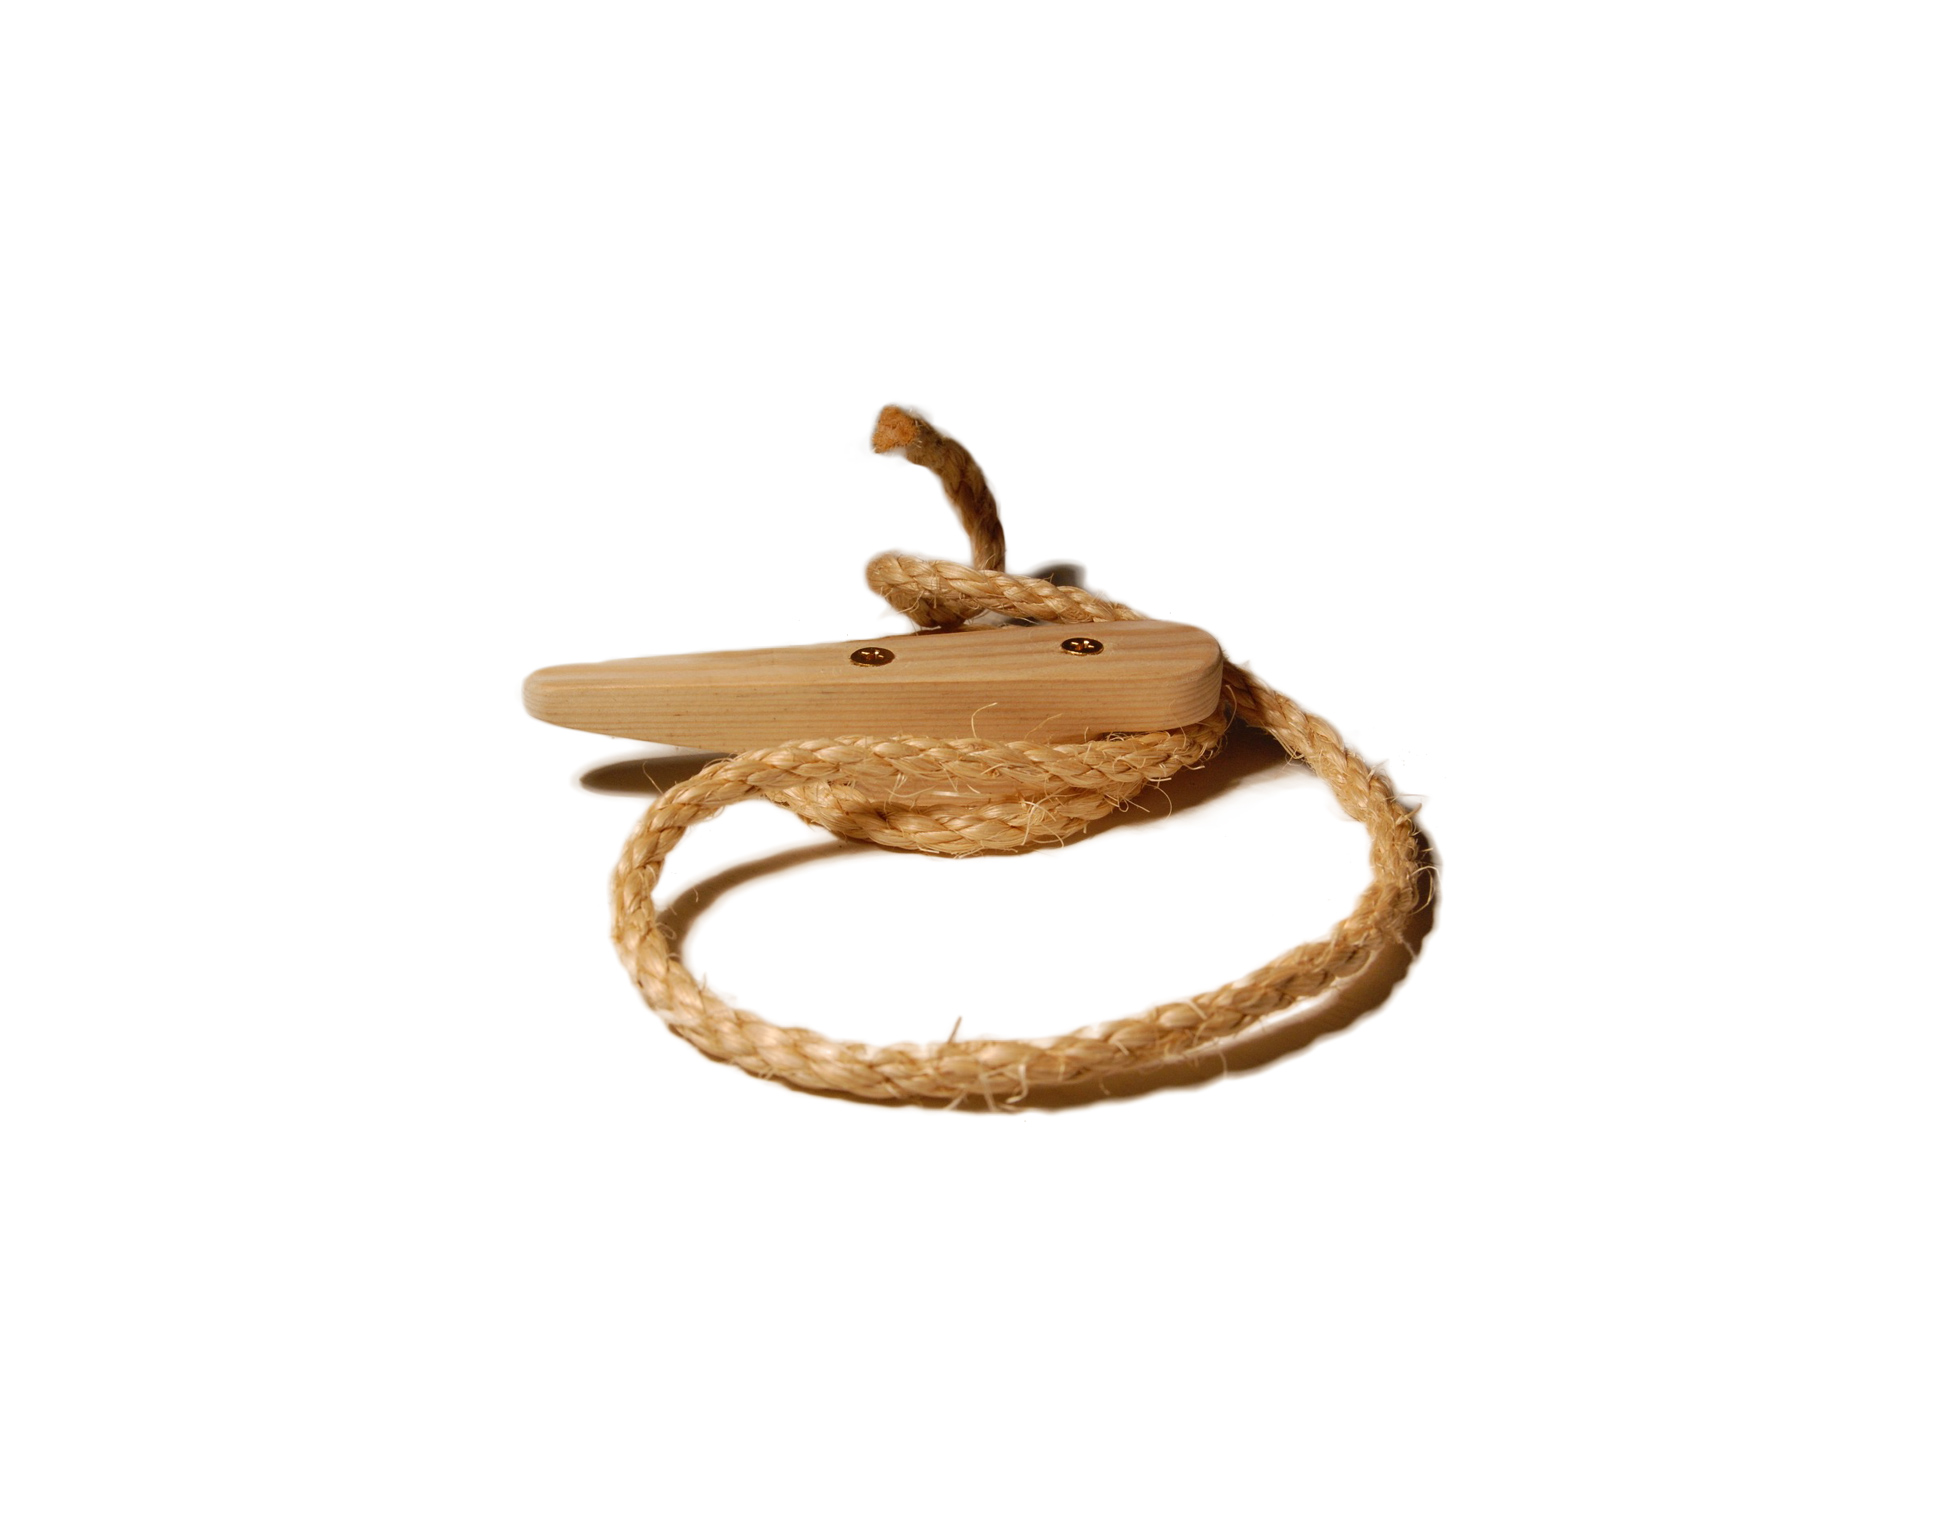
Work out how you will put the clamps on to pull everything up tight. You may want bar clamps ( quick-clamps work well) or a rope clamp. I used both.

Take it all apart again and lay it out neatly.

For the final assembly, I used Chair-Loc . I have used this in the past and it is good for about 7 years of daily use on these chairs. The chair I worked on today did not get completely disassembled last time I did repairs and so it has never really been tightened up in 25 years.

Repeat the assembly this time putting Chair-loc in each hole and spreading it around each peg or rung. Press everything together. Clamp it, tap it and get it real snug.

Give it a while to set up, put the seat on and screw in the screws.

The chair is now nice and tight.