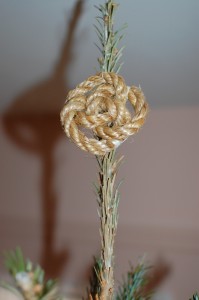
Christmas Rope Wreath
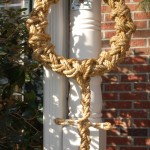
The latest knot project is a braided rope wreath. This is based on the description in Ashley #2241.
Start with about 3 meters (10 ft) of #16 galvanized wire. Halve it and clamp the sharp ends in a vise. Insert a suitable hand-hold such as a screwdriver shaft in the bight and twist the pair until it lays flat and will hold shape. Form the twisted wire into a hoop about 35 to 40 cm (14 to 16 inches) twisting the overlapped ends together. Wrap the hoop with wadded newspaper or other wrapping to make a form. I used newspaper because I intended to remove it. The split-tube pipe insulation may also work. You want a bit of thickness,say 50 cm (2 inches), some give, and a uniform donut shape.
Follow the directions in Ashley #2241 to construct the knot. Start with 30 meters (96 feet) of 1 cm (3/8 inch) rope. Cut this in half. With the first piece, do 8 wraps, 3 times around, leaving about a little over a meter hanging. Use a clue (a cord of a different material or color) to wrap 8 wraps the other way. Get the wraps as evenly spaced as you can. Now go in parallel to the clue with the second piece of rope weaving over-under. When you get back to the beginning, take the strand under where you were over before. Take this over-under pattern around 3 times. The third time through, make sure that both of the patterns are over-under in both directions. Remove the clue.
When you complete the first level of plait, before you begin doubling, correct any errors by pulling a clue through the knot chasing the line with the error into the knot until it exits. Pull the offending line out leaving the clue. Correct the error by re-weaving Ashley #127. Then follow the clue to the exit with the corrected strand.
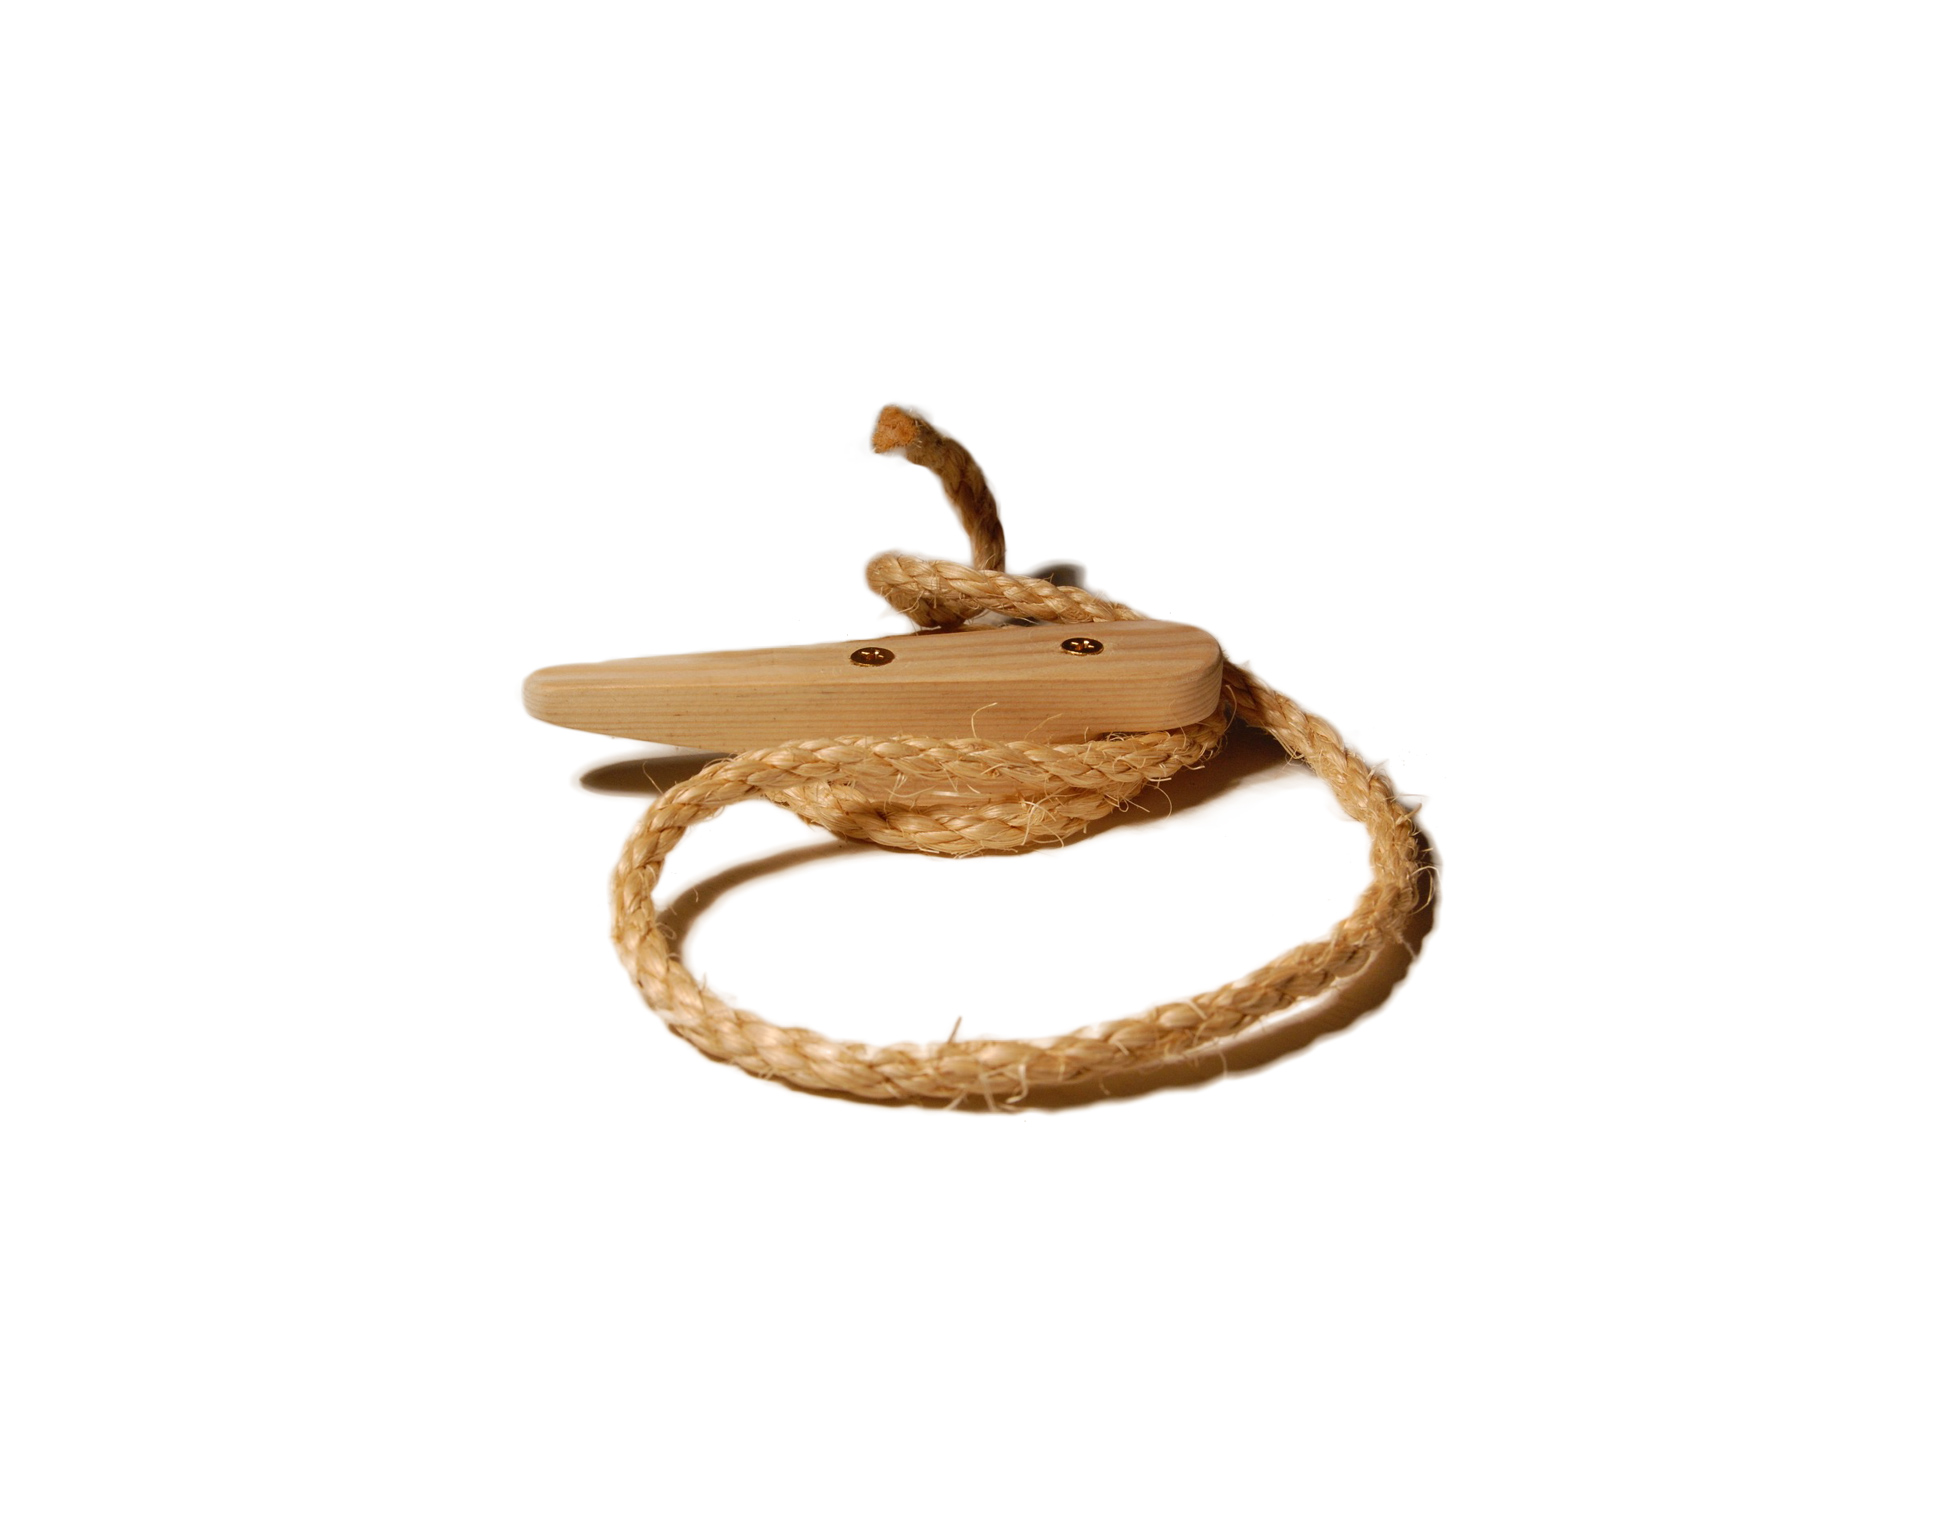
Now choose one end or the other of both pieces to pull back to about a 1 meter (3 feet) length. Make sure that these are from the left-hand and right-hand weaves and that they exit in the same direction. This will be the end that will form the final decoration. Pull the excess out through the knot, 6 times around for each strand. Once this is complete, you should find the other ends to be about 1 to 2 meters. Once the original layer is complete and correct, and adjusted, double the first layer in each direction. Then begin removing the excess from the knot making the long tails longer. Work from where the short tails are. Hold them exiting and trailing away from you. Draw up the body with all strands, drawing out slack in loops and rotating the excess toward the exit with the longer strands. Some strands need to go around several times to reach the exit. Finish by bringing all 4 tails to the same exit point (or as close as you can get). Seize the 4 together. Plait a 4 strand flat plait Ashley 2967 (XX in the text drawing below). When a suitable length is formed, form a bight on each side using the longer strands. Seize (verticle bar) near the end and near the central portion along with a splint of wood to hold the cross piece out.
XX
XX
⊂|=|XX|=|⊃
XX
XX
XX
XX
XX
——
||||
Continue plaiting beneath the crossing for a suitable distance. Whip the ends of each strand. Seize the 4 strands together close by the end seizings (horizontal dash). Cut each strand just beyond the whipping. As a variant, consider drawing the ends to the middle so that the pendant cross in in the middle.
American Girl Doll: Arm Repair
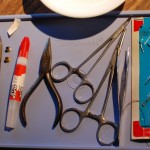
As with the leg repair, the arm repair can also be done by the manufacturer or perhaps be a local doll repair service. In Fig 2 below, you can see the pieces that result from a typical failure next to the repaired ball-and-socket joint. Note that the picture shows the ball-and-socket completely assembled. Doing it separately as described will help avoid getting glue inside the socket. I discovered this after the pictures were taken.
Mark the arm on the armpit side across the parting line where the half-ball meets the upper arm. Carefully cut along the parting line with an X-acto knife to remove the ball. The plastic cup may be stuck in the arm and require extraction by tapping or reaching in with a tweezer or needle-nose plier.
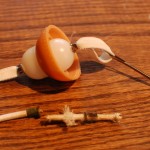
Use a sparing amount of super-glue to rejoin the ball the arm making sure to align the mark made earlier. A weak solution (pinch of baking soda in 3 cc (1 teaspoon) of water) may be used to speed set-up of the super-glue and eliminate stickiness of any squeeze-out.
Draw the elastic though the cup side of the ball and out the back. Draw the elastic through a second eyelet. Test the tension and compare to an attached arm . It needs to be tight enough to hold in place yet allow enough stretch to give you room to stich the ball back into the torso. When proper length is found, crimp the eyelet.
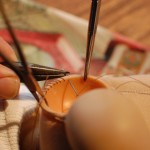
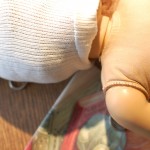
Update on Leg Repair: In one of the joints I repaired, there were a couple of washers strung on the elastic, I think possibly to keep the cord centered or reduce abrasion. They do not seem to be essential and found only in joint out of 3. Perhaps part of the original design but later dropped.
American Girl Doll: Leg Repair
Some of our American Girl dolls are 12 years old. With play and time, the elastic that holds the legs gives way and the leg is loose or falls off. While my daughter is grown, my wife still sets up a seasonal table with the girls.
American Girl provides a repair service and will re-attach arms and legs for a fee. There are doll hospitals in most large cities and individuals in smaller towns that provide doll repair. If you wish to attempt it yourself, here is one way to do it.
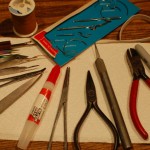
Undress the doll if desired. This will avoid soil and glue problems. When I examined the doll patient, I noted that the detached leg had a ball-joint that mated with a socket sewn into the cloth torso. An elastic cord is retained in the ball and holds the two parts together. The leg appears to be one piece with a hole molded in the hip-joint. There is what could be a mold-parting-line but I theorized that it was glued or sonicly welded at assembly time. I marked a small index mark on the inside of the thigh at the line with a Sharpie and carefully cut off the top of the leg with and X-acto knife. Similarly, I marked the torso-to-socket joint and cut the threads where the socket is stitched in. Inside the leg there was a plastic cup loose and a piece of elastic with an eyelet squished onto it as a retainer. In the stuffing in the torso, was a similar cup and piece of elastic. I believe that the cups are to make the elastic long enough so that it can be tensioned but still stretch far enough that the leg can be worked on. In one of the dolls, there were washers between the cup and the openings in the leg or socket. Additional strain relief? Smoother operation? Abrasion protection?
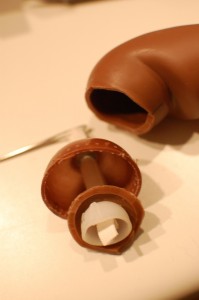
The elastic is heavy-duty shock cord about 4mm (1/8 inch) diameter. I did not have any like it but had some flat dress-makers elastic about 10 mm (3/8 inch) wide. I doubled a piece of elastic about 70 mm long (2 1/2 inches) and slipped on an eyelet with the flange away from the bitter end, drew it close and squashed the eyelet with a pliers to make a “knot”. I pushed the elastic through one of the cups so it came out the cup side. Please note that the cup in the picture Fig 2 is oriented BACKWARD. The cup should face the other way. The through the large hole in the severed leg-top. Next through the large hole in the socket, through the other cup and out the bottom. Last another eyelet is slipped on. Using another leg, estimate the tension required and pull the elastic up until the ball-to-socket tension is similar to a good joint. Mash the second eyelet to complete the assembly.
Put a small amount of cyanoacrylate glue (super glue) on the leg top where it was cut. Carefully replace the leg top matching the index you marked before cutting. Hold until set. The glue I was using remained sticky where it had squeezed out after assembly. A small amount of ammonia or a weak baking soda solution will cause this to set instantly.
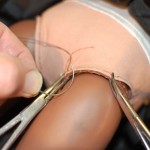
Pull the leg-joint apart and to the side to give you room to work. Place the socket in the torso with the alignment correct. Use hemostats or other small nosed clamps to hold the edge of the cloth aligned with the edge of the socket. The original socket was machine stitched but I used a glover’s needle and an overhand stitch to rejoin the socket and torso. A pair of pliers may be required to force the needle through the existing holes and draw it out the other side.
When the stiching is complete around the circumference, let the leg slip into the socket and check for fit. Re-dress the doll and the job is done.
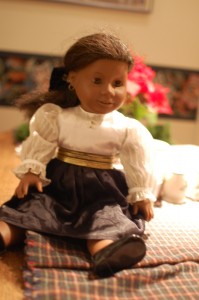
There is also a procedure for Arm Repair.
Little Ferries
While surfing for something totally unrelated I came across the end-of-season notice for the Ironton Michigan cable ferry. Plan on going through Charlevoix or East Jordan until next April. Little ferries are so much fun. When we lived in Connecticut the Chester-Hadlyme ferry with picnic at Gillette Castle or a morning of berry picking and a ride on Rocky Hill-Glastonbury ferry were a short drive away for an afternoon of cheap boating.
Dorothy Fuldheim
Dorothy Fuldheim was a newscaster editorialist on WEWS-TV. Her editorial was preceded by a version of Eric Coates Knightsbridge March from his London Suite. I played the Eric Coates LP that I have and remembered her. WEWS-TV in Cleveland, was home of Dorothy Fuldheim and Ron Penfound aka Captain Penny. When I think of women in radio/television she may have been one of the sharpest.
Indiana News

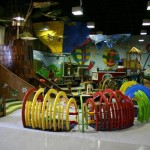
Thanks to the generous donations and support of the following organizations and foundations, this project was made a reality for the Muncie Children’s Museum: The Boren Foundation, Inc., George and Frances Ball Foundation, The Community Foundation of Muncie and Delaware County, Inc. and Robert A. and Beverly D. Terhune Fund.

In other news, David found out Monday that he has been designated an “Indiana Artisan”. Selection of Indiana Artisans is a juried process. You can go to www.indianaartisan.org to learn more about it.
You can see more of David Calvin’s work at his own website, Whimwood.net.
Nutrition Database
The taxpayers through the United State Department of Agriculture Agriculture Research Service, Nutrient Data Laboratory have provided a USDA National Nutrient Database for Standard Reference, Release 24 of foods, food ingredients, and nutrition. The current revision is 24.
If you have the Microsoft Access database software, you can download a pre-made MS Access database which presumably has the relationships and perhaps some sample queries.
If you are a Linux or Unix user, you are left to your own ingenuity to create the database. As I transitioned from SR 23 to SR 24 I thought that I should improve my own documentation to make my life easier next time. Perhaps you will find it useful as well.
Traveling Salesman Problem Lectures
This week I was able to attend 2 lectures by Professor William J. Cook, Chandler Family Professor, ISyE, Operations Research, Georgia Institute of Technology at Furman University’s 2011-2012 Donald H. Clanton Visiting Mathematician Program.
Exact Solutions in Linear and Integer Programming
This lecture treats the problem of finding exact rational solutions. While the details of the mathematical theory cannot be covered in a one hour lecture, Professor Cook was able to help the audience (me at least) understand the difficulties inherent in the computer’s limited numeric precision, the large number of calculations involved each with its inherent possible losses, and a number of approaches to reducing or at least managing these errors. With David L. Applegate, Robert E. Bixby, and Vasek Chvátal, William J. Cook is co-author of The Traveling Salesman Problem: A Computational Study
In Pursuit of the Salesman: Mathematics at the Limits of Computation
This lecture is more accessible by the non-mathematician. Professor Cook outlines the history and origins of the problem: How to minimize the length of the trip a salesman must make to visit all of the required cities. The complexity of this problem grows super-exponentially with each added point. With delightful illustrations, pictures, and explanation he makes this problem come alive and helps us understand why the Traveling Salesman Problem is important not just to travelers but in genetics, manufacturing and astronomy.
Professor Cook’s book In Pursuit of the Salesman: Mathematics at the Limits of Computation be available in January, 2012.
If you have an opportunity to hear Professor Cook speak, do not miss it. You will enjoy his knowledge and excitement in mathematics.
Organization
An article in the Economist caught my eye. The article/commentary concerned the organizing principles of the Occupy Wall Street movement and especially as it relates to the American style of Democracy. Well into the article was this
Moreover, direct deliberative democracy by its very nature puts effective power disproportionately in the hands of extroverted, energetic, and charismatic individuals with a knack for persuasion. The opinions of introverts and those of us who need a good deal of time to mull things over tend not to be fully included into the decision-making process. So these people (most of us, I think) must go along, their views systematically underrepresented until the rule of the pushy yammerers becomes too intolerable and they leave. Exit is more powerful than voice if voice is not your strong suit.
Looking at the first sentence, I would say that it is also true of monarchies, dictatorships, boardrooms, executive suites, unions, Congress, sales and marketing and just about every other human endeavor.
Looking at the last sentence, exit is much easier for the young as the elders have a great deal of inertia/momentum depending on your reference frame.
A usual, the contemplative are stuck in the middle.
