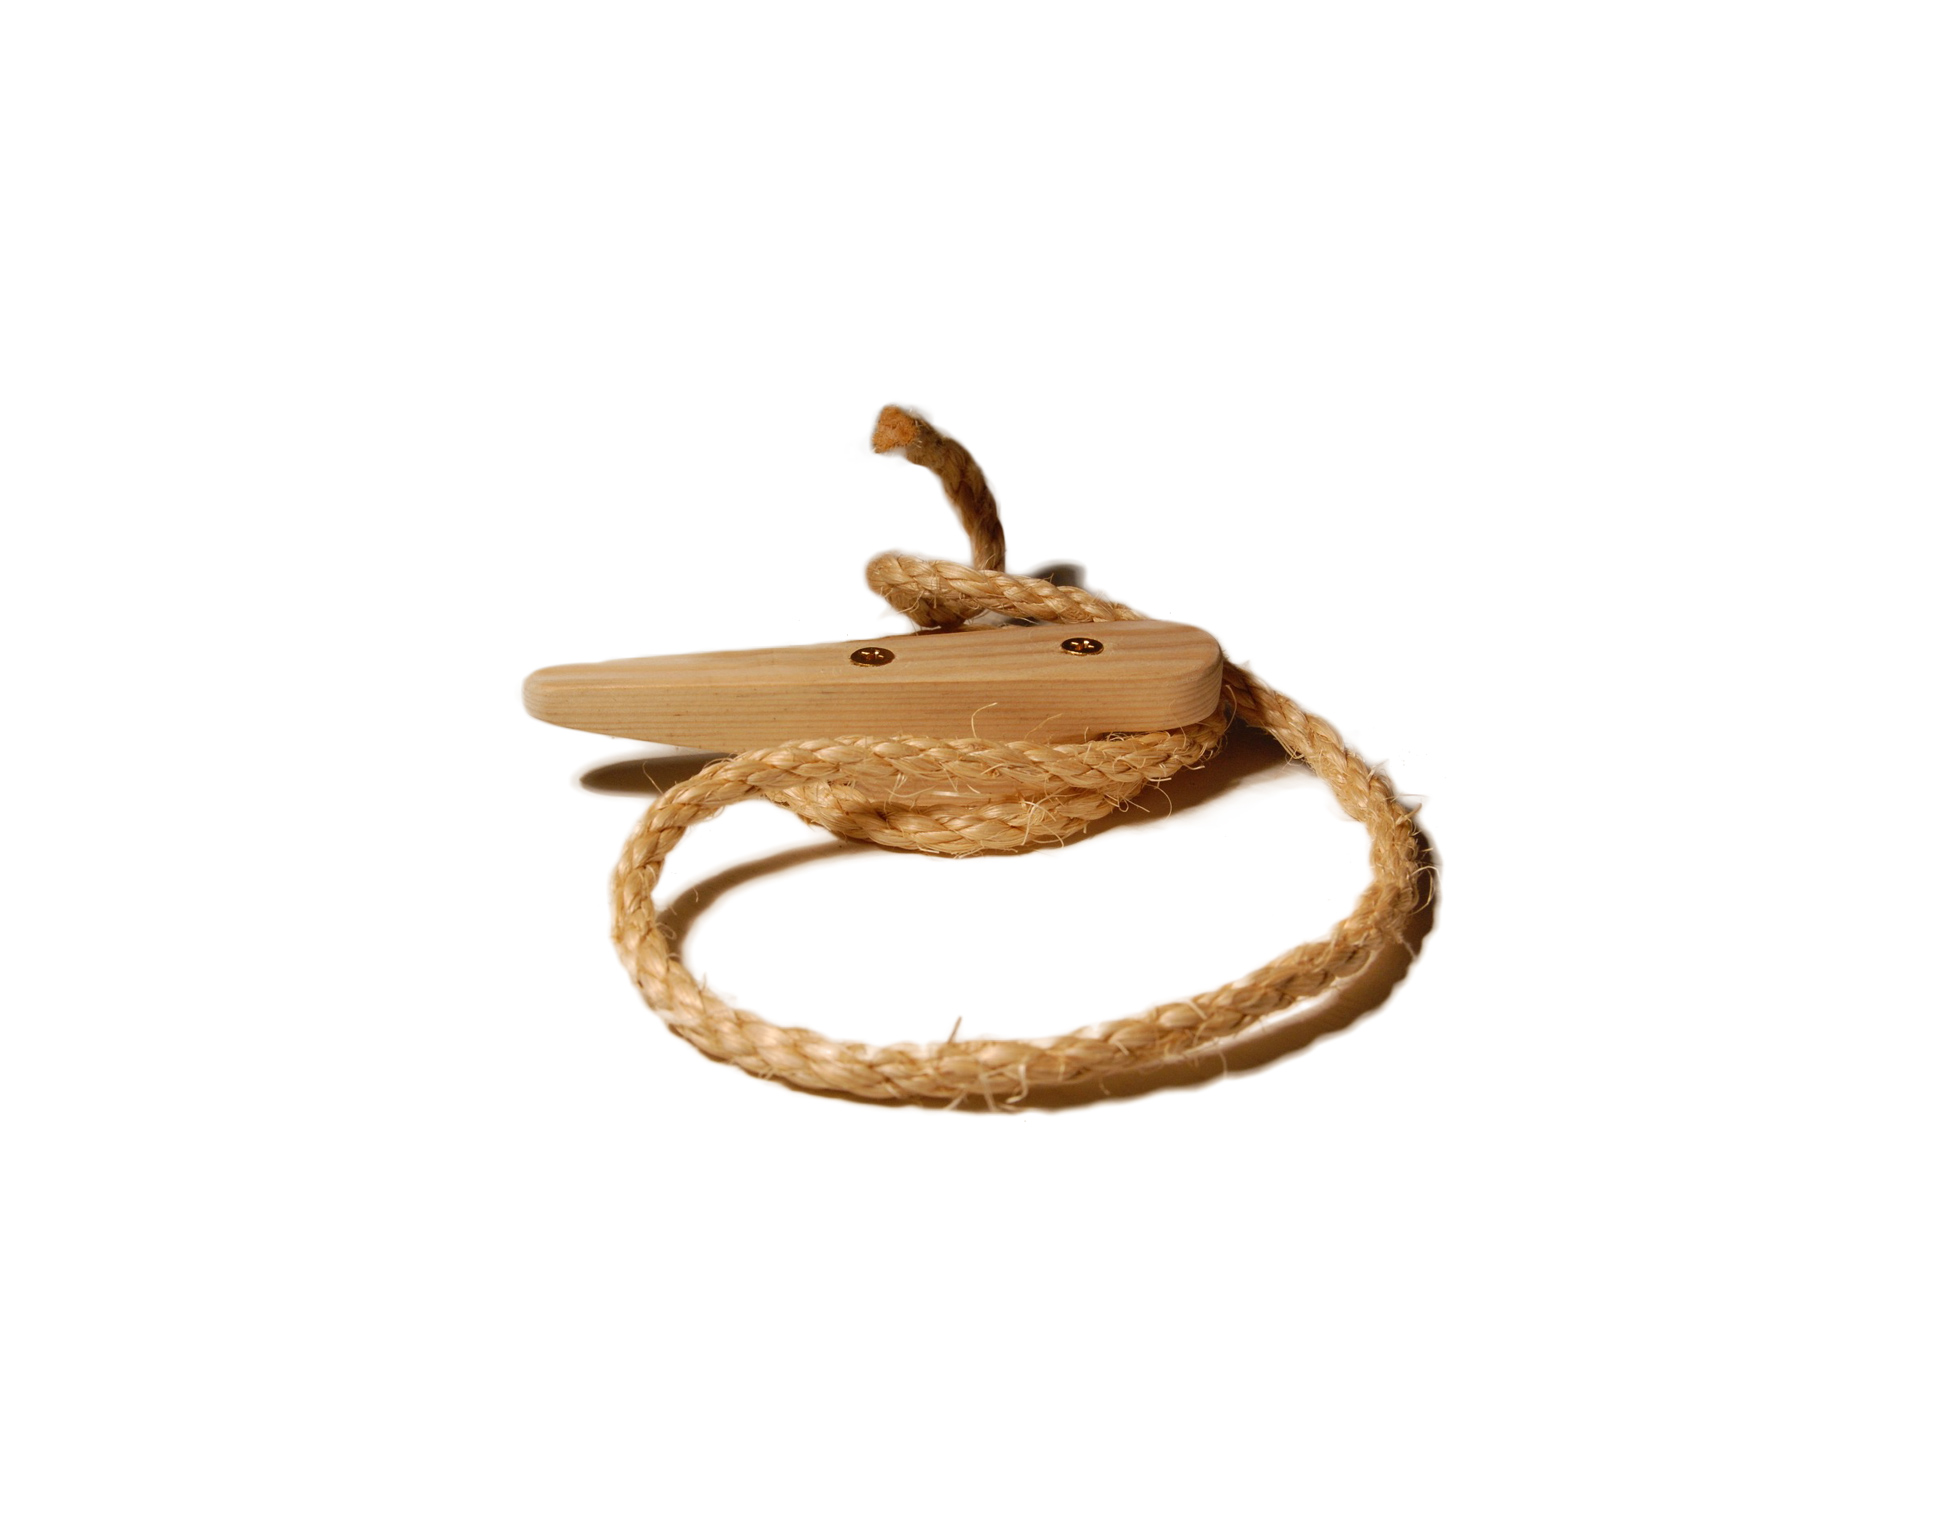

This is the recipe I recall, demo’ed by the Today show hostess. Set the fry pan to medium, a bit of vegetable oil, brown thin-sliced strips of beef. Set aside. Increase heat, brown carrot strips, celery, bamboo shoots (optional). Reset to medium. Add fresh spinach. Cover wait 3-4 minutes for spinach to cook. Serve with rice. Soy sauce.
Recently there was some left over steak strips and some bell peppers. The other night I made a sukiyaki-like dish as above, but no bamboo shoots using a conventional skillet over a gas stove. Pretty tasty. Should have used the whole bag of spinach though.



Oven Ignitor Replacement
The Amana oven ignitor failed. Of course you only notice that when you are about to use it. Fortunately it was something that just needed heated, not a cake or something that really needed “Bake” at “xx0” for “whatever”. We just ran the “Broil” to get the oven and the food hot. But the ignitor for the bake part still needed replacing.
Get the oven model and serial number. On this stove, they are located on the left oven frame, inside the bottom drawer. Then obtain the ignitor. In Greenville, I go to G+E Appliance Parts(closed Saturday. Banks is open until noon on Saturday) but you can get parts on-line if you have time to wait.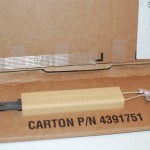 The ignitor is fragile. Open the box carefully ensuring that as you unwrap the layers of corrugated board that the new ignitor is always on the bottom. When it is visible, handle it carefully by the ceramic part only. Never touch the heat bar part.
Unplug or disconnect the stove or turn off the breaker. Verify that that the oven light goes out. Remove the oven wire shelves. Remove the bottom burner cover by lifting and sliding forward to release the tabs at the rear.
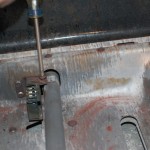
You will see the guard over the ignitor at the rear of the oven next to the burner tube. Remove 1 screw at the burner and 2 screws
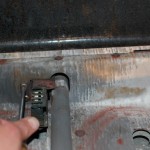
against the back of the oven floor. Your oven may be different. The sheet that comes with the ignitor shows some variations. Pull the guard toward the front of the oven. The ignitor will come with it. Continue to pull carefully drawing the wires out until the wire-nut connectors appear. Unscrew the wire-nuts and disconnect the ignitor.
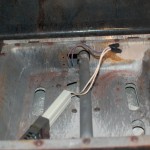
With the guard and ignitor out of the oven remove the guard from the old ignitor and slide it on the new ignitor until it hits the stop. Re-attach the stove wires with the wire-nuts. Stuff the wire and wire-nuts back into the hole, making sure that they go down the hole and outside the bottom of the oven. Re-position the guard and replace the 3 screws.
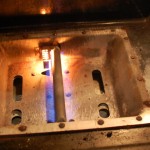
Re-connect the power. Test by turning the oven to Bake and an aribtrary temperature. The ignitor should glow white-hot within a few seconds. A bit later, the gas will come on and it should ignite. If this test fails, turn off the oven controls and investigate with the power off and gas off.
If the test is successful, replace the burner cover with tabs in the rear engaging the slots in the rear of the oven floor. Replace the wire racks.
I presume replacement of the boiler ignitor is similar. It gets used much less and I have not had to replace it.
MAF Sensor Replacement
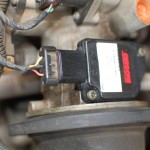
After a couple of days, the light was on again. Time for a replacement. My son did some Internet research and found that someone who had re-replaced the rebuilt unit with a “new” unit and had good results. I got the new OEM part.
Installation of the MAF is straightforward. The only hitch is as a high value part, it has security Torx screws so you are going to need that special driver.
Disconnect the battery. Carefully release the locks on the plug and pull the plug. There are water seals inside so it can be a bit stiff. Slow and steady. Then remove the screws in the corners. Remove the sensor by lifting straight out. Install the new unit. Start, then tighten the screws. Replace the plug. Reconnect the battery.
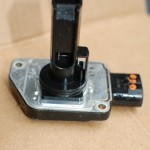
The Mass Air Flow (MAF) sensor tells the engine control computer how much air is flowing into the engine. The computer uses this along with other inputs to decide mixture and other controls.
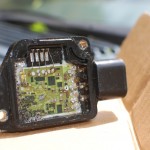
Since I bought the new unit, there was no need to return the “core” as with a rebuilt part. So What Is In There? The second picture shows the part of the MAF sensor that is in the intake duct. The air goes through the hole and by that horizontal bit. That is actually a “hot wire” sensor. Heated by a current, its resistance varies by temperature. The more air that flows by the cooler the hot wire and so its resistance comes down. You can see that under the lid there is a fairly sophisticated circuit associated with this device.
Toy Airplane Repair

A wad of Seal-All or Goop would have held it on, or perhaps a wad of epoxy. But is one those small areas with high shear and high bend potential where glue has real difficulty.
Instead, I decided to drill a dowel to make a bushing, drill the landing gear strut to hold a screw and assemble the wheel, bushing, self-tapping screw and washer. I filed the point of the screw where it came through.
Making America Smarter
Today, once again I recognized and opportunity to make myself a little smarter. And then I realized that there are those folks who would make the USA a dumber place. I am thinking of those who would make a single “Official Language” the only lingua franca. Fortunately, they have to spar with those greedy, money-grubbing corporations that insist on publishing the instruction sheets for their products in two, three, four and more languages. Me, cheapskate that I am, am not about to sign up for Rosseta Stone, Berlitz, or private lessons. I read the English instructions and then use the other instructions to increase my vocabulary in Spanish, French, occasionally German, or Italian. For example, did you know that “bain d’oiseaux” was French for “bird bath”. From there, the leap to “Bain de Soleil” is a short one, with a mid-air tumble to “Cirque du Soleil”. Do this enough and you might recognize that that “eaux” ending was a plural. So maybe multiple birds or multiple kinds of birds.
Lego and Playmobil have the richest offerings in the multi-lingual instruction. You can get important safety warnings in all of the above plus Greek, Danish, Swedish, Norwegian, and Finnish. IBM hardware offerings are even richer covering the Near Eastern and Far Eastern languages as well. Apparently, none of these products are marketed in the Vatican, the final bastion of Latin, much to my disappointment.
Around 1965, Tom Lehrer wrote in a song about a rocket scientist of the time:
You too may be a big hero
Once you’ve learned to count backwards to zero
“In German oder English I know how to count down
Und I’m learning Chinese,” says Wernher von Braun
[Copyright Tom Lehrer (talk about visionaries), Wernher Von Braun, from memory]
Perhaps I listened to the wrong music as a teenager.
So when someone suggests that we should settle on American English and only allow that, they may be just trying to take away one of your choices. And choice is freedom. Of course stupidity is a a choice. No current medical evidence shows that language instruction causes brain injury. Yet hundreds of school systems cut language programs to maintain the funding for football programs. Go figure.
Math Jokes
I found a good collection of math jokes.
For example:
Q: Why did the chicken cross the Mobius strip?
A: To get to the same side!
Middle
Who? What? When? Why? Where? How? Those were the questions I was taught to ask on every doubt. I had the good luck to attend the only college with a basketball court size map of the 48 states of USA. I haven’t been back for years but I understand that the space has been re-purposed. Lacking the balcony view of the curve of earth (Who needs that now with Google Earth). And lights that light up (if they were working) of the selected cities on the switch boxes. At least the Babson Globe has been restored.
I was addicted to maps long before that and still. The INTERNET can provide.
Now (when it may be vital to establish jurisdiction) I discover that my (unnamed) INTERNET provider not only mis-locates me but makes my locus a place which differs from the center determined by measurement.
Potwin, KS may be a rounding error.
Eureka, KS may be a closer center.
If you don’t know what a theodolite is please check your reply a couple of times.
Chair Repair
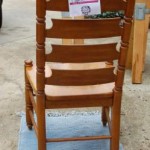 We have had the dining room furniture for about 28 years. I have put some of it back together. Originally from J.C.Penney, the furniture is nice wood but quickly put together. The biggest problem in getting it apart is that the spindles, back, rungs, and frames are held together with those corrugated wood fasteners. It is very difficult to get the chairs apart without some damage. Ideally, you can take a chair apart with a firm tap (with a hammer and a protective wood pad) to separate the glue joint. With the fasteners, careful wiggling and pulling is required in addition to the tap.
Working with the pictures in the Gallery, a back and side view of the chair. In the second row left, a screw has worked loose allowing the frame to flex. Normally, the frame would be rigidly held by he seat. On the right a spindle has come loose from the leg, allowing the other legs to flex and work their joints loose. In the third row, as the frame works, the pegs that are glued into the the leg loosen and work. The glue block that holds the frame tight, has broken loose and is retained only by the staples used in assemble. Third row, right, before dis-assembly, use masking tape and a marker to identify the left and right pieces and where they are in the chair and how they are oriented. The back pieces are labeled 1-Top, 2, 3, 4-Bottom, Left (relative to sitting in the chair), Right. The Legs, Left-Front, Right-Front, the frames are labeled Front-Left (with the label to the left), Frames – Rear-Left, Left-Rear (with the label to the rear), Right-Rear, Runs Rear-Left, Left-Rear, Right-Rear, Front-Left-Top, Front-Left-Bottom.
When the labeling is complete, use a stubby Phillips screwdriver to remove the screws that hold the seat to the frame. Remove the seat d set it aside, put the screws in a baggy. Then use tapping and pulling to disassemble the chair. If a joint is tight and firm, there is no need to separate it. But be diligent to get the loose ones apart. Clean the loose glue from surfaces, holes and spindles of the separated parts. I prefer “Chair-Loc”, a compound that swells the wood and tightens the joint rather than glue for re-assembly. For it to work properly, clean wood is best. On the other hand, excessive scraping or sanding will make the joint loose and require additional work to make it tight.
On re-assembly, plan ahead. Make sure that you understand what joints are going to go back together and how. With chairs, the legs move toward the center simultaneously during re-assembly. Put Chair-Loc in each of the open holes and on the spindles before insertion. Work quickly before the wood has a chance to expand. Assemble all 4 legs, the 4 back panels, 4 frame pieces, and 5 rungs and press together. Use bar clamps and tapping to bring them firmly together. Make a bowline knot and throw it over a leg and wrap the chair with rope. It takes about 30 feet (10 meters) to wrap. Use a taut-line hitch around the back fineal and tighten to hold firmly while the Chair-Loc works. See the Gallery bottom left. Drip some Chair-Loc in the joints that you did not separate as well. Glue the glue blocks and clamp. Gallery bottom right. Use a damp rag to remove any spillage.
After a couple of hour, remove the clamps and rope.
New Cats
NotRumTum displaces Blackie BigHead. Momma RumTum displaces Onyx. RumTum finds a nice home. Did I mention that Momma RumTum has 3 ALL black kittens. Onyx (pretty black spaed female) needs home.
,
Pictures
I have taken a few pictures and posted them at wunderground.com and flickr. Also the flickr album McKelvey Road completes a project that I have been working on this year.
,
